Flowcharts are essential tools for visualizing processes, workflows, and decision-making pathways. While Microsoft Word is primarily used for word processing, it also offers basic features to create flowcharts. This guide will show you how to make a flowchart in Word, covering different methods, tips, and best practices.
Understanding Flowcharts
A flowchart is a diagram that visually represents a process or system using shapes, symbols, and arrows to illustrate steps and their sequence. Commonly used shapes include rectangles (for processes), diamonds (for decisions), and arrows (to show flow direction). Flowchart symbols help standardize the representation of different actions, making it easier to understand and communicate complex processes. There are various types of flowcharts, including process flowcharts, data flowcharts, workflow diagrams, and system flowcharts, each designed to visualize different aspects of processes and systems.
Flowcharts are useful for:
- Process documentation
- Problem-solving and decision-making
- Workflow visualization
- Educational and training materials
How to Make a Flowchart in Word
Method 1: Using Basic Shapes
Step 1: Open Microsoft Word
- Launch Microsoft Word and open a new blank document.
- Adjust the page layout if needed for better space utilization (e.g., change orientation to landscape).
Step 2: Enable Gridlines for Alignment
- Go to the “View” tab.
- Check the “Gridlines” option to make alignment easier when placing shapes.
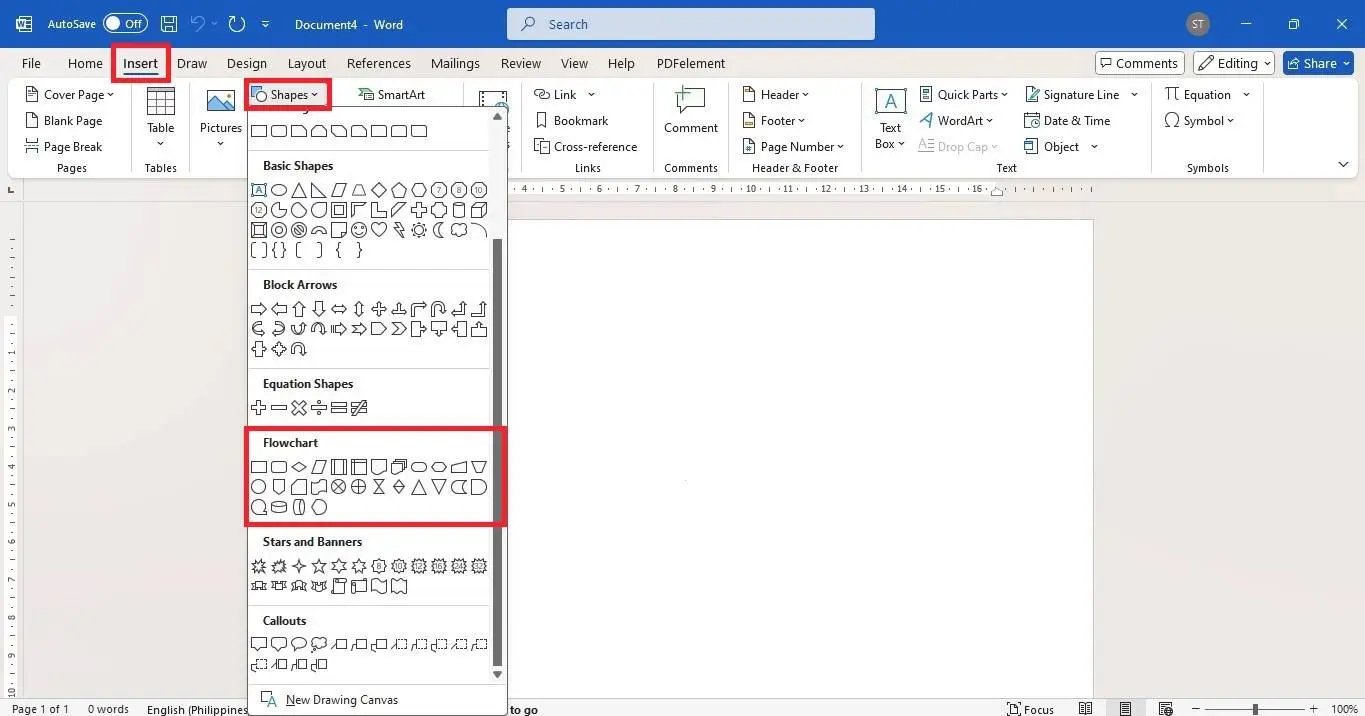
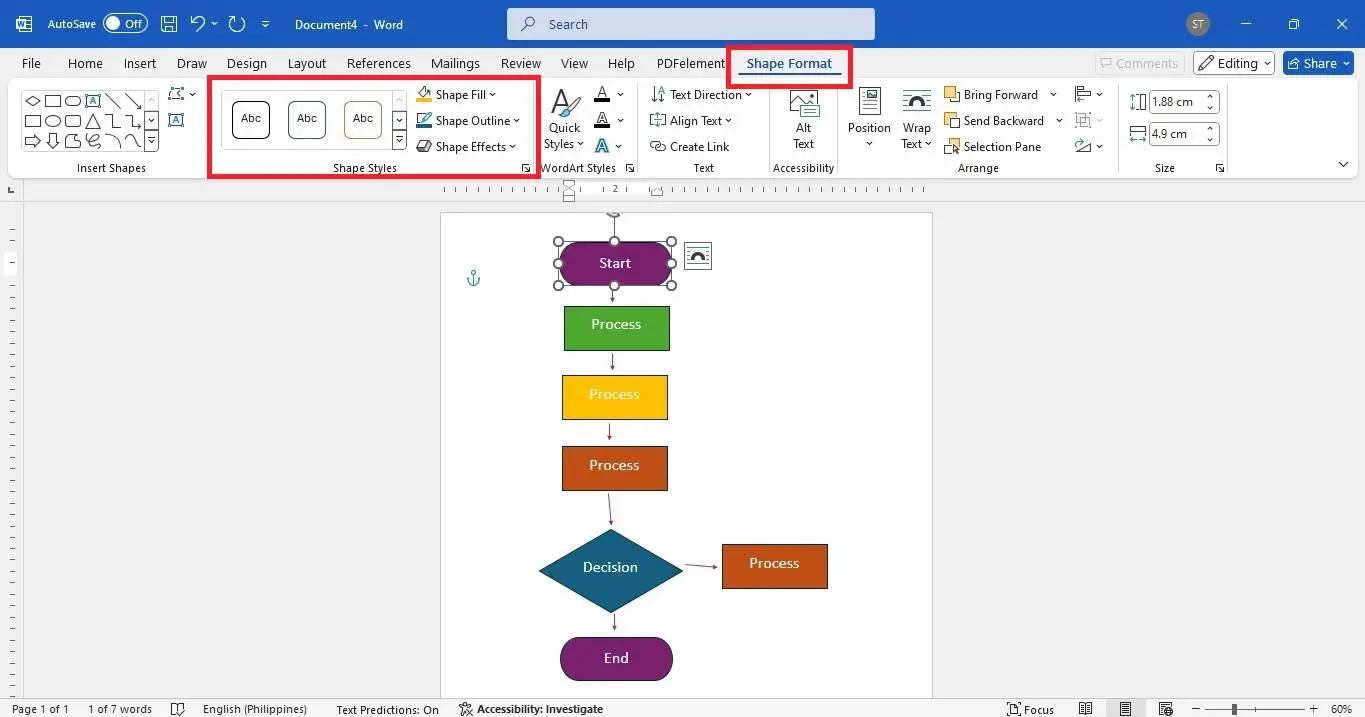
Step 3: Use the Shapes Tool to Create Flowchart Elements
- Navigate to the “Insert” tab.
- Click on “Shapes” and select from the “Flowchart” category (e.g., Process, Decision, Terminator).
- Click and drag to draw the shape on the document.
- Double-click inside the shape to add text.
Step 4: Connect Shapes with Arrows
- Return to the “Shapes” menu and select an arrow from the “Lines” section.
- Draw arrows connecting the shapes in the logical flow of your process.
- Adjust the arrowheads and connectors to ensure clarity.
Step 5: Format the Flowchart
- Click on a shape or arrow to access formatting options under the “Format” tab.
- Customize the shape fill, outline, text style, and arrow types to enhance visual appeal.
- Align and distribute shapes evenly using the “Align” options.
Method 2: Using SmartArt Graphics
- Go to “Insert” > “SmartArt.”
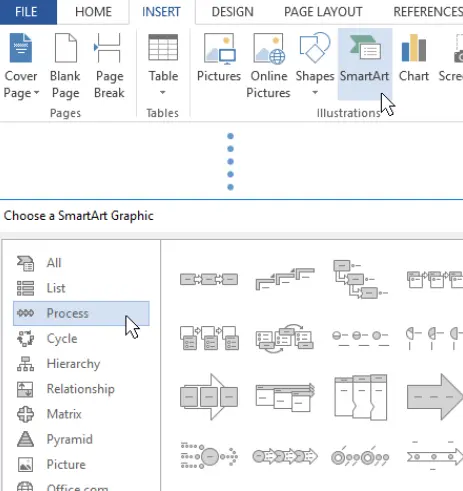
- Choose “Process” to access various flowchart layouts.
- Click on a layout, add text, and customize the design.
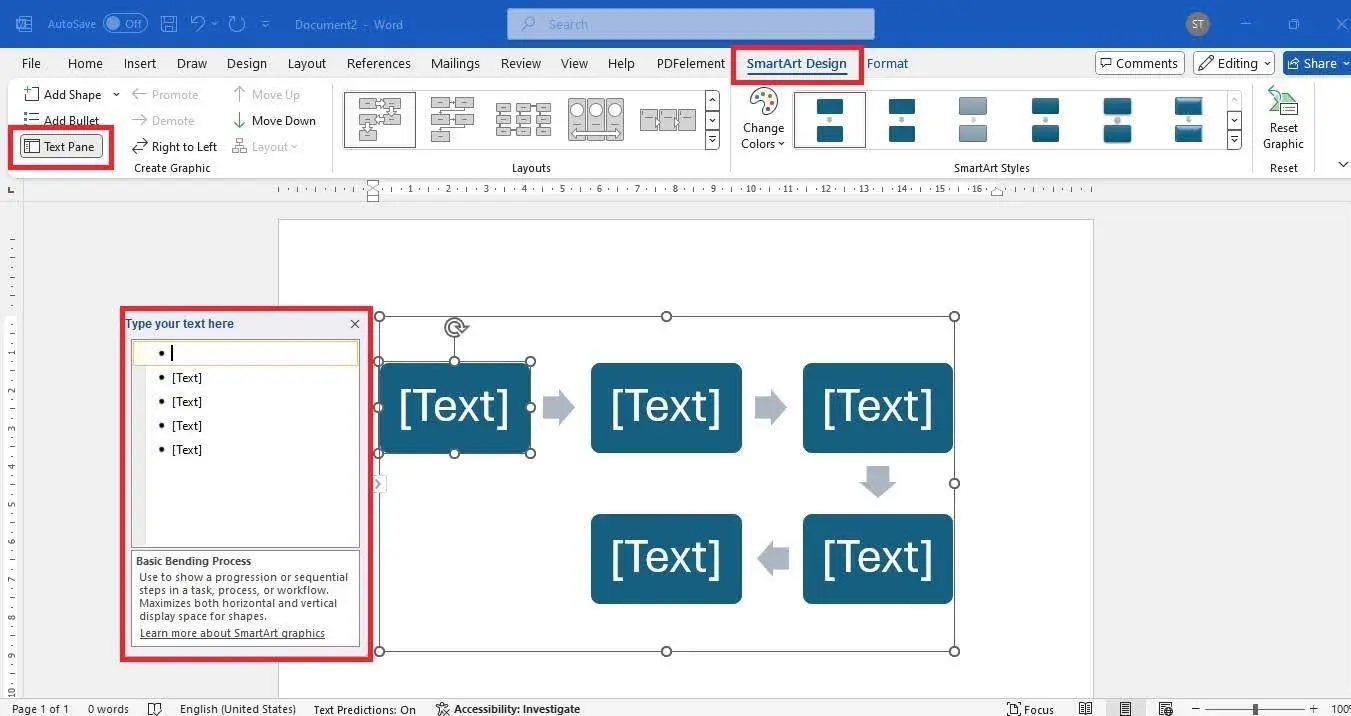
Tips to Enhance Your Flowchart in Word
- Use Consistent Shapes: Stick to standard flowchart symbols for clarity.
- Color Coding: Differentiate steps or decisions with colors for better readability.
- Maintain Alignment: Use gridlines and alignment tools to ensure a professional look.
- Simplify Complexity: Avoid overcrowding the chart. Break complex processes into multiple charts if necessary.
Saving and Sharing Your Flowchart
- Save your document as a Word file or export it as a PDF for easy sharing.
- To share, attach it to an email or upload it to shared drives.
Limitations of Using Word for Flowcharts
Limited Flexibility: Adjusting shapes and connectors manually can be tedious, especially when modifying complex diagrams. Word lacks features like smart connectors and automatic alignment.
Basic Design Options: Word offers limited customization with basic shapes and styles, restricting creativity and resulting in less professional-looking diagrams.
No Real-Time Collaboration: Word doesn’t support live, multi-user editing, making it difficult for teams to collaborate effectively and gather feedback.
Limited Export and Integration Options: Export formats are restricted, and integration with tools like Confluence, Jira, or Google Drive is limited, affecting workflow efficiency.
Lack of Automation Features: Word requires manual adjustments for every element, increasing the chances of errors and making the process time-consuming.
Helpful Resources
Collaborative flowchart software to map processes, visualize user flows and workflows, and document processes
This flowchart tutorial will teach you all you need to know about flowcharts.
This guide will walk you through everything you need to know about flowchart symbols, their usage, best practices, and common mistakes.
What is the easiest way to create a flowchart?
For complex or collaborative flowcharting, consider using tools like Creately’s flowchart maker. These platforms offer advanced diagramming capabilities, real-time collaboration, and a range of templates that make flowchart creation more efficient.
Why Creately is the Best Tool for Creating Flowcharts
Creately is an intuitive and powerful flowcharting tool, perfect for mapping processes, analyzing workflows, and enhancing team collaboration. Here’s why it stands out:
Flowchart Maker Creately provides a flowchart software equipped with essential features for individuals and students. It’s ideal for creating, editing, and collaborating on basic flowcharts, with upgrade options for advanced features and integrations.
AI-Powered Features
Creately VIZ offers AI-driven AI Flowchart Maker with capabilities that suggest shapes, auto-generate flowcharts from text, and enhance process visualization, accelerating diagram creation and reducing manual effort. Explore our premium AI Flowchart Template to effortlessly create advanced flowcharts with AI-powered features.


Drag-and-Drop Simplicity Creately’s intuitive drag-and-drop interface simplifies creating and modifying flowcharts. It’s designed for ease of use, whether you’re a beginner mapping simple processes or a professional building complex workflows.
Smart Connectors for Seamless Process Flows Auto-aligning smart connectors keep process flows logical and clear, adjusting automatically when elements are rearranged—ensuring consistency and clarity in your diagrams.
Real-Time Collaboration Collaborate live with team members using multi-user editing, comments, and synced previews. Creately makes it easy to work on flowcharts remotely or in real-time brainstorming sessions.
Customizable Templates Choose from Creately’s extensive library of pre-designed flowchart templates for various use cases like business process mapping, system design, and project workflows, allowing you to start quickly.
Easy Export & Integration Export flowcharts in multiple formats (PDF, PNG, SVG) and integrate with tools like Google Drive, Slack, Confluence, and Jira to simplify your workflow and documentation processes.
With its user-friendly interface, collaboration features, and AI-powered automation, Creately is the go-to tool for creating professional flowcharts that simplify complex processes and enhance productivity.
Creately’s Ready-Made Flowchart Templates
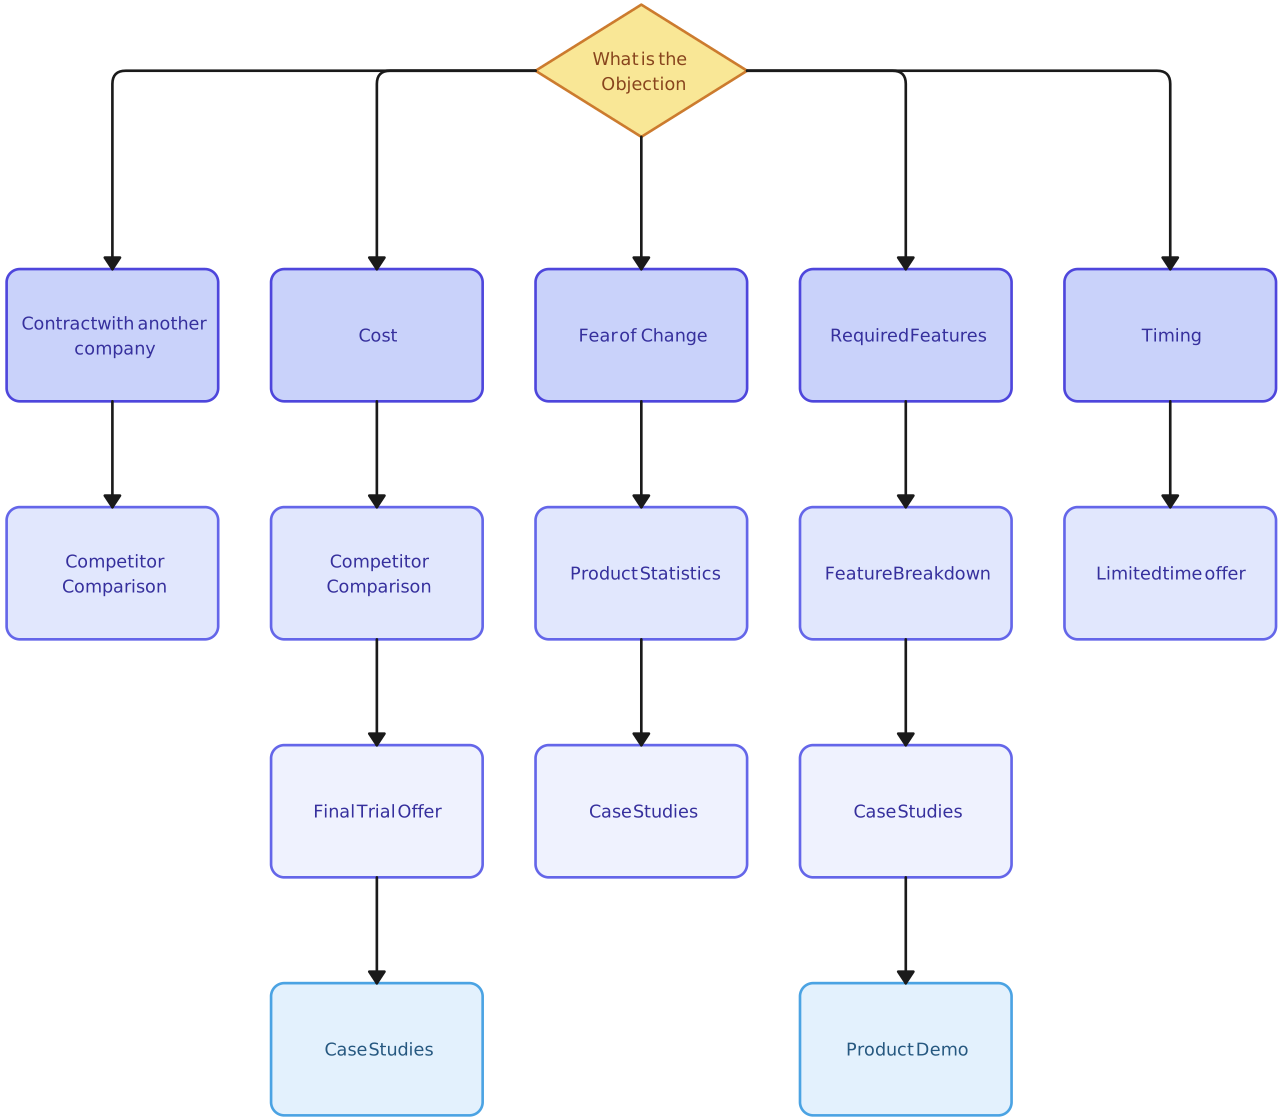


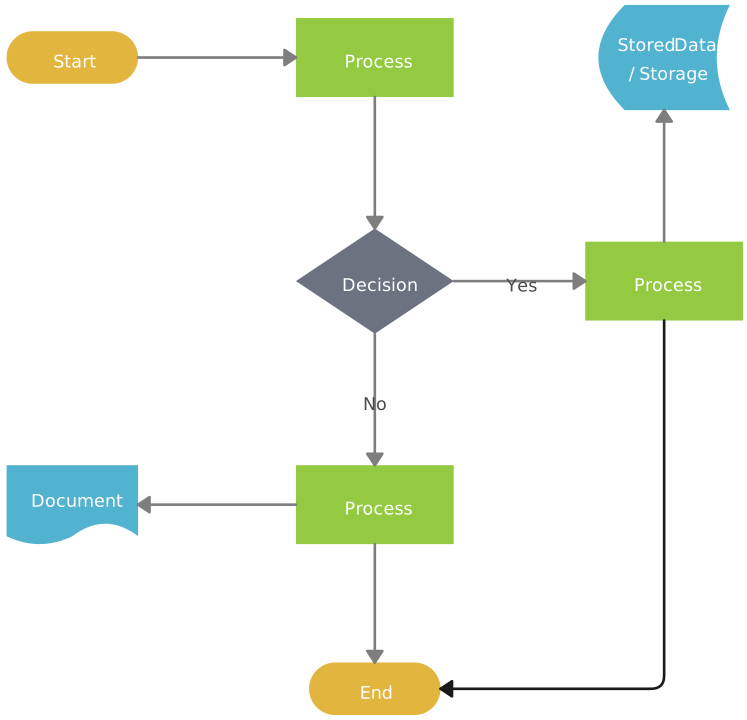
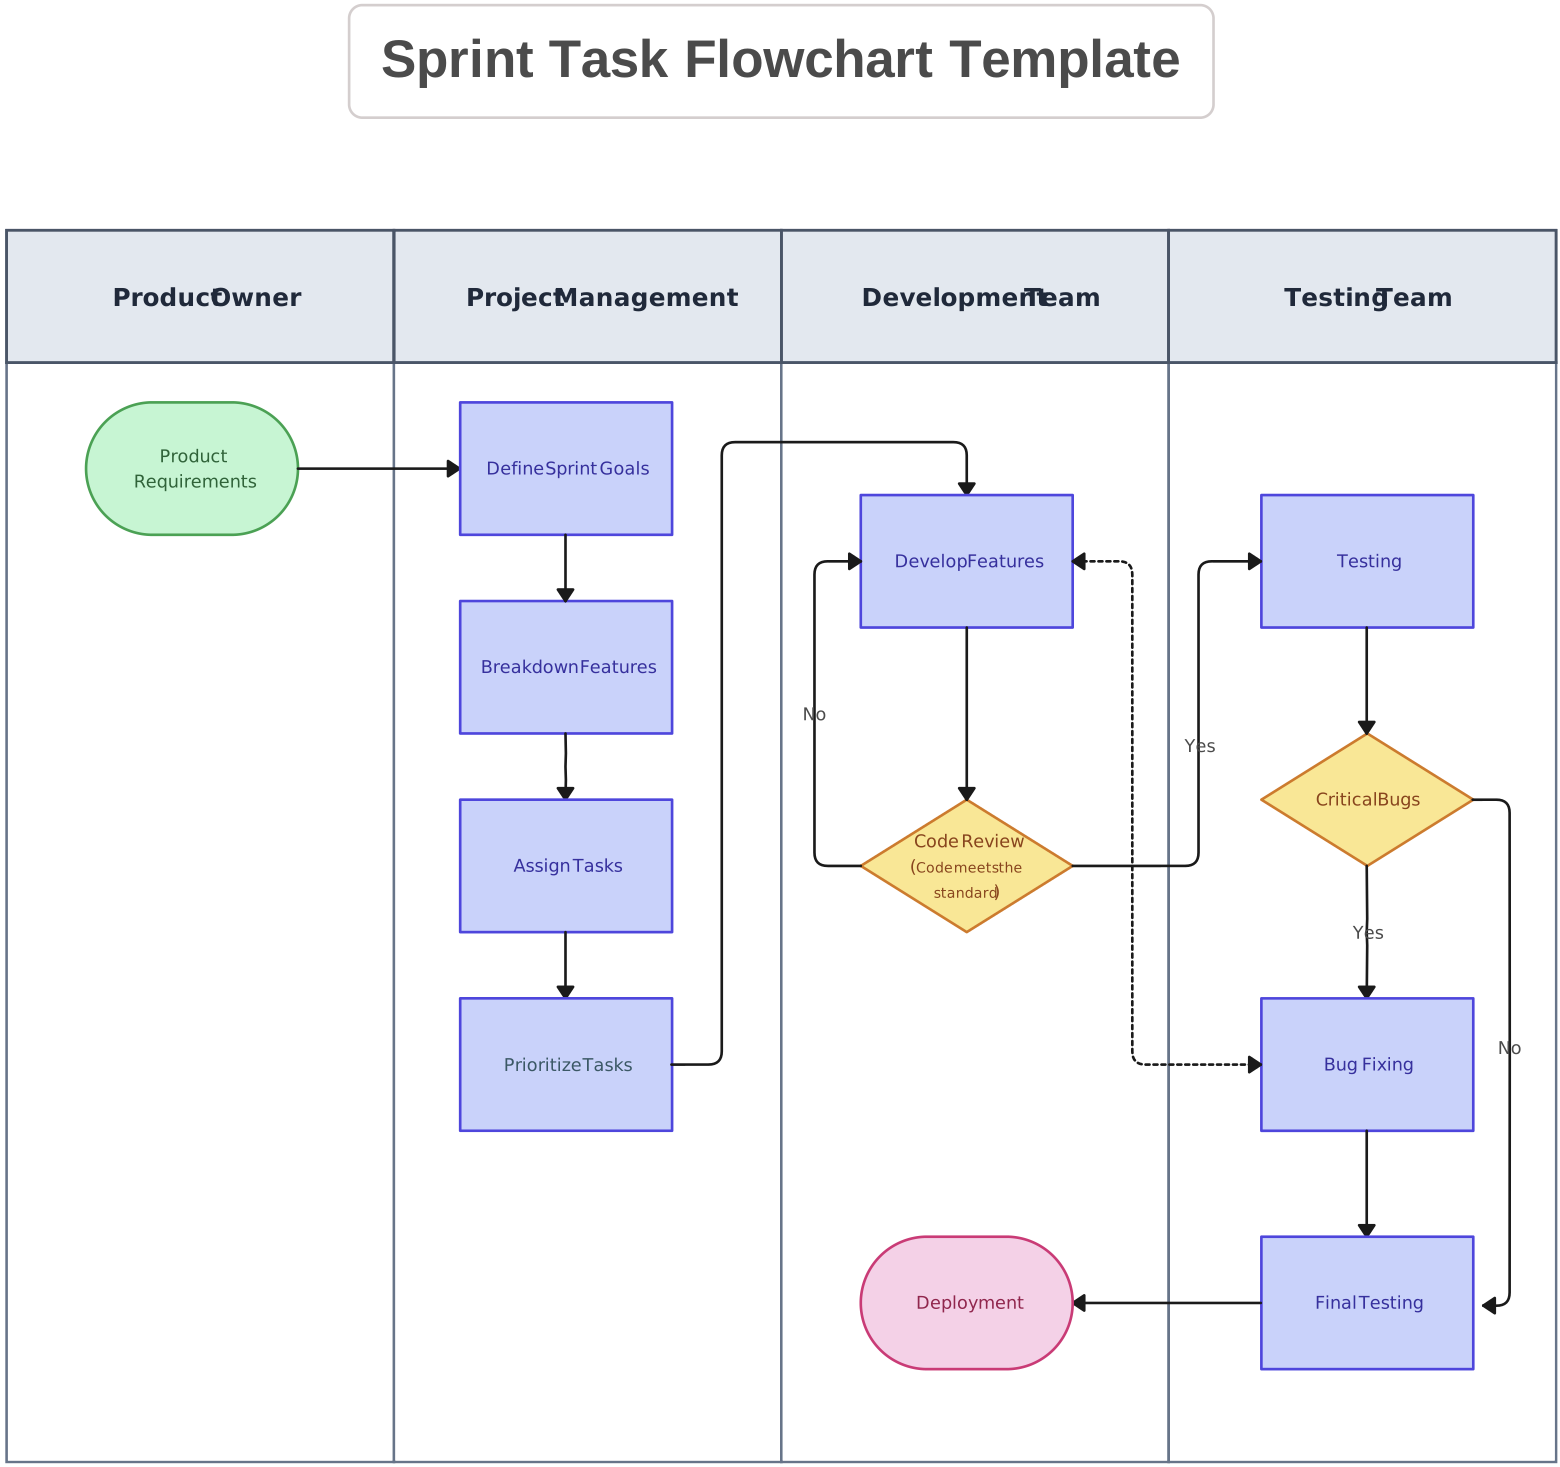
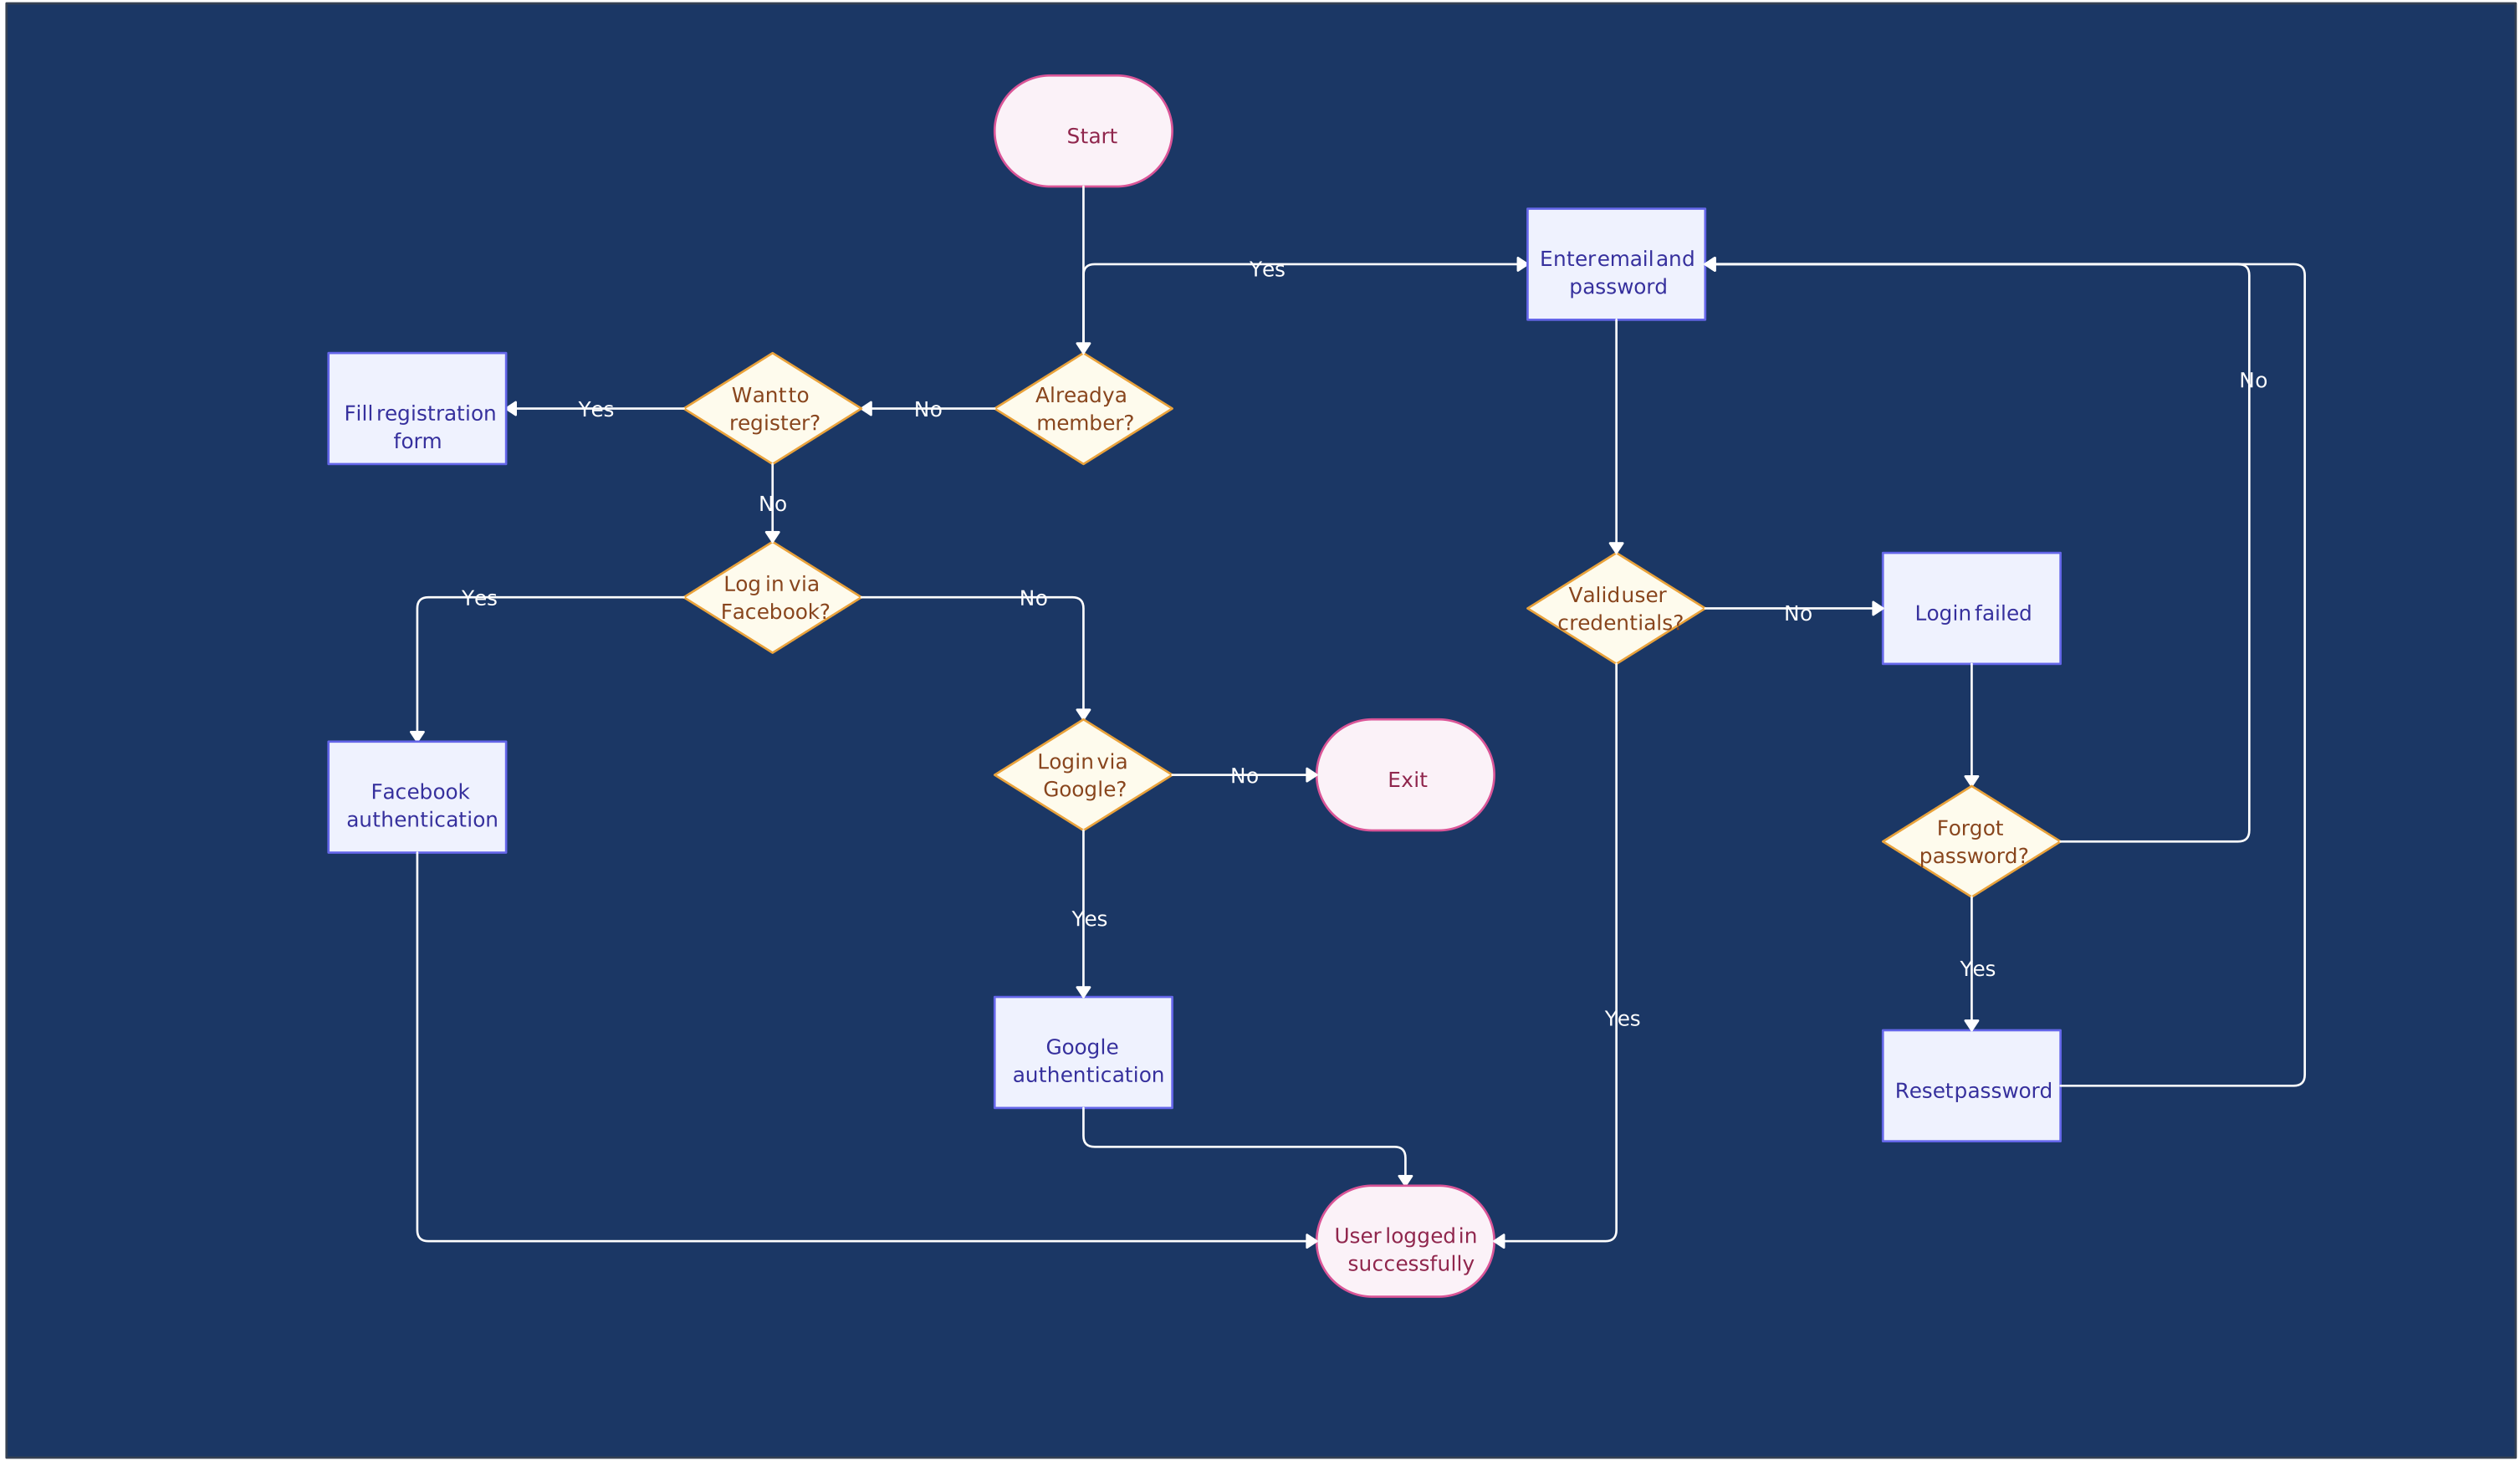
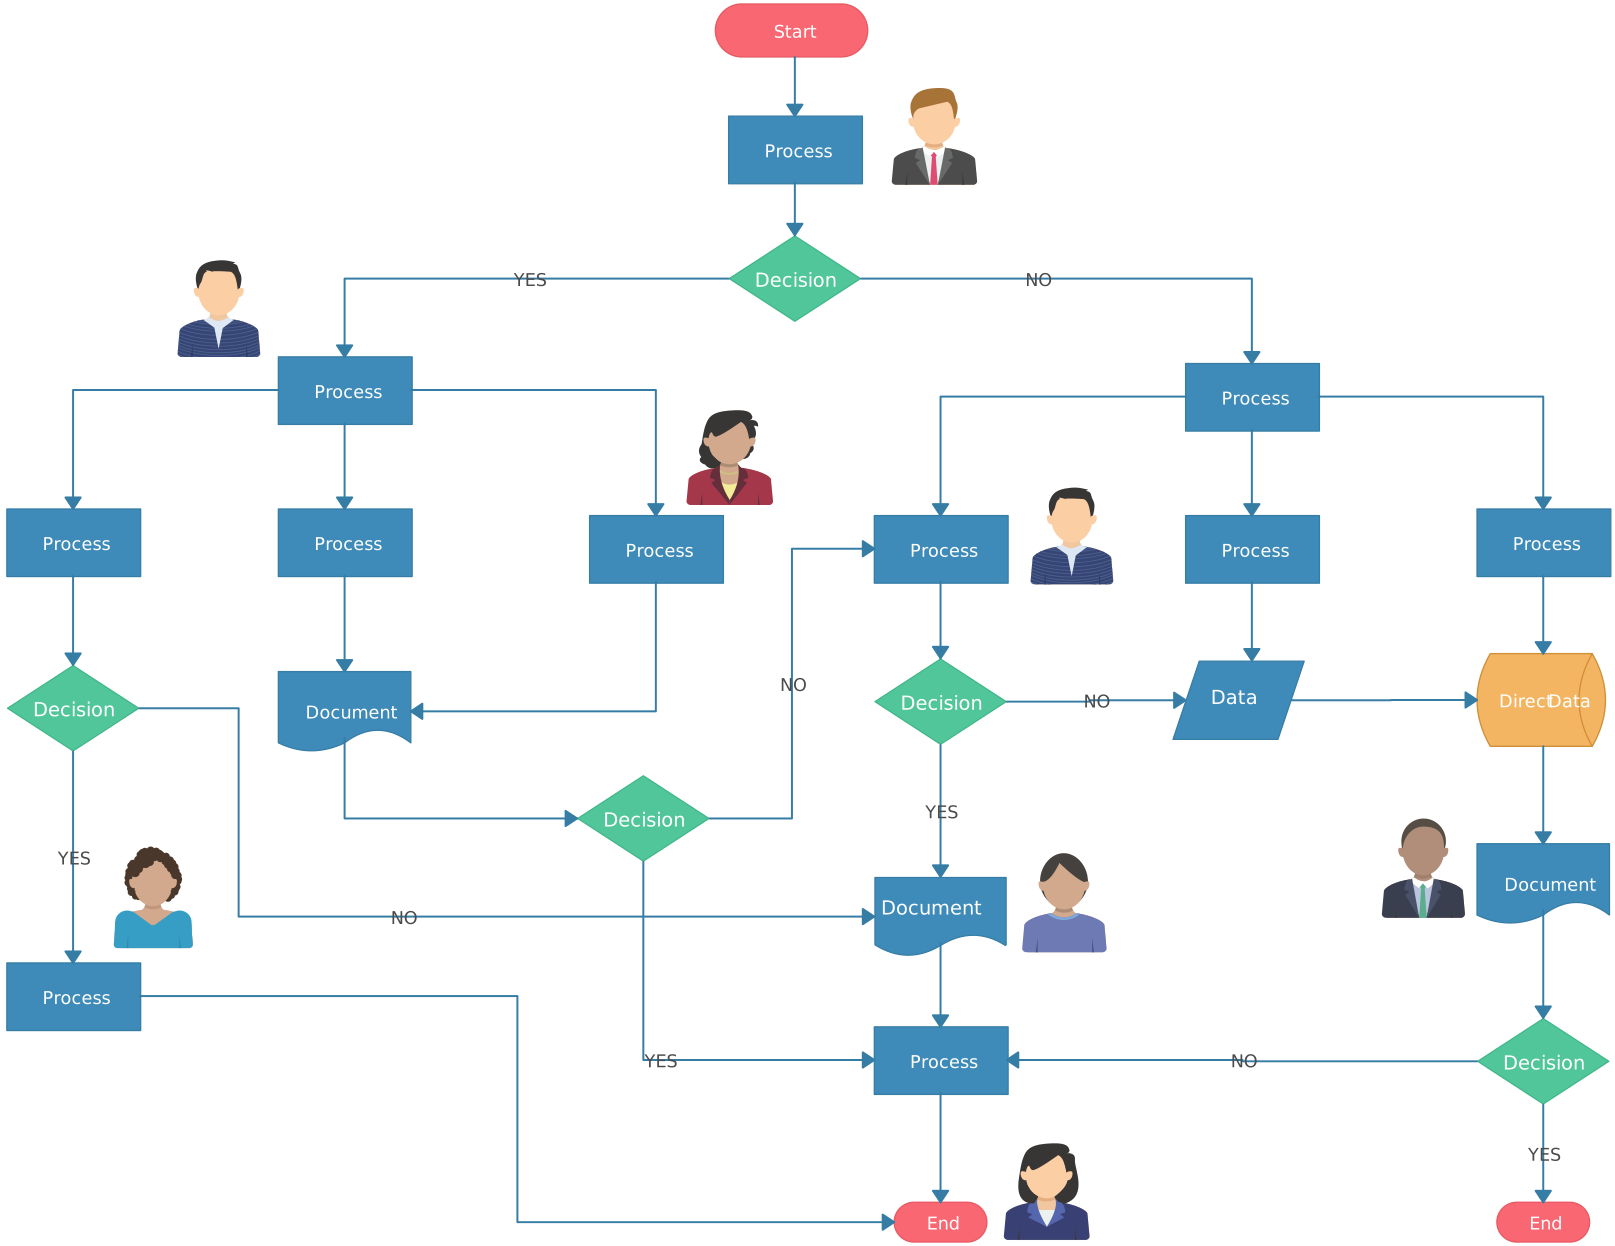

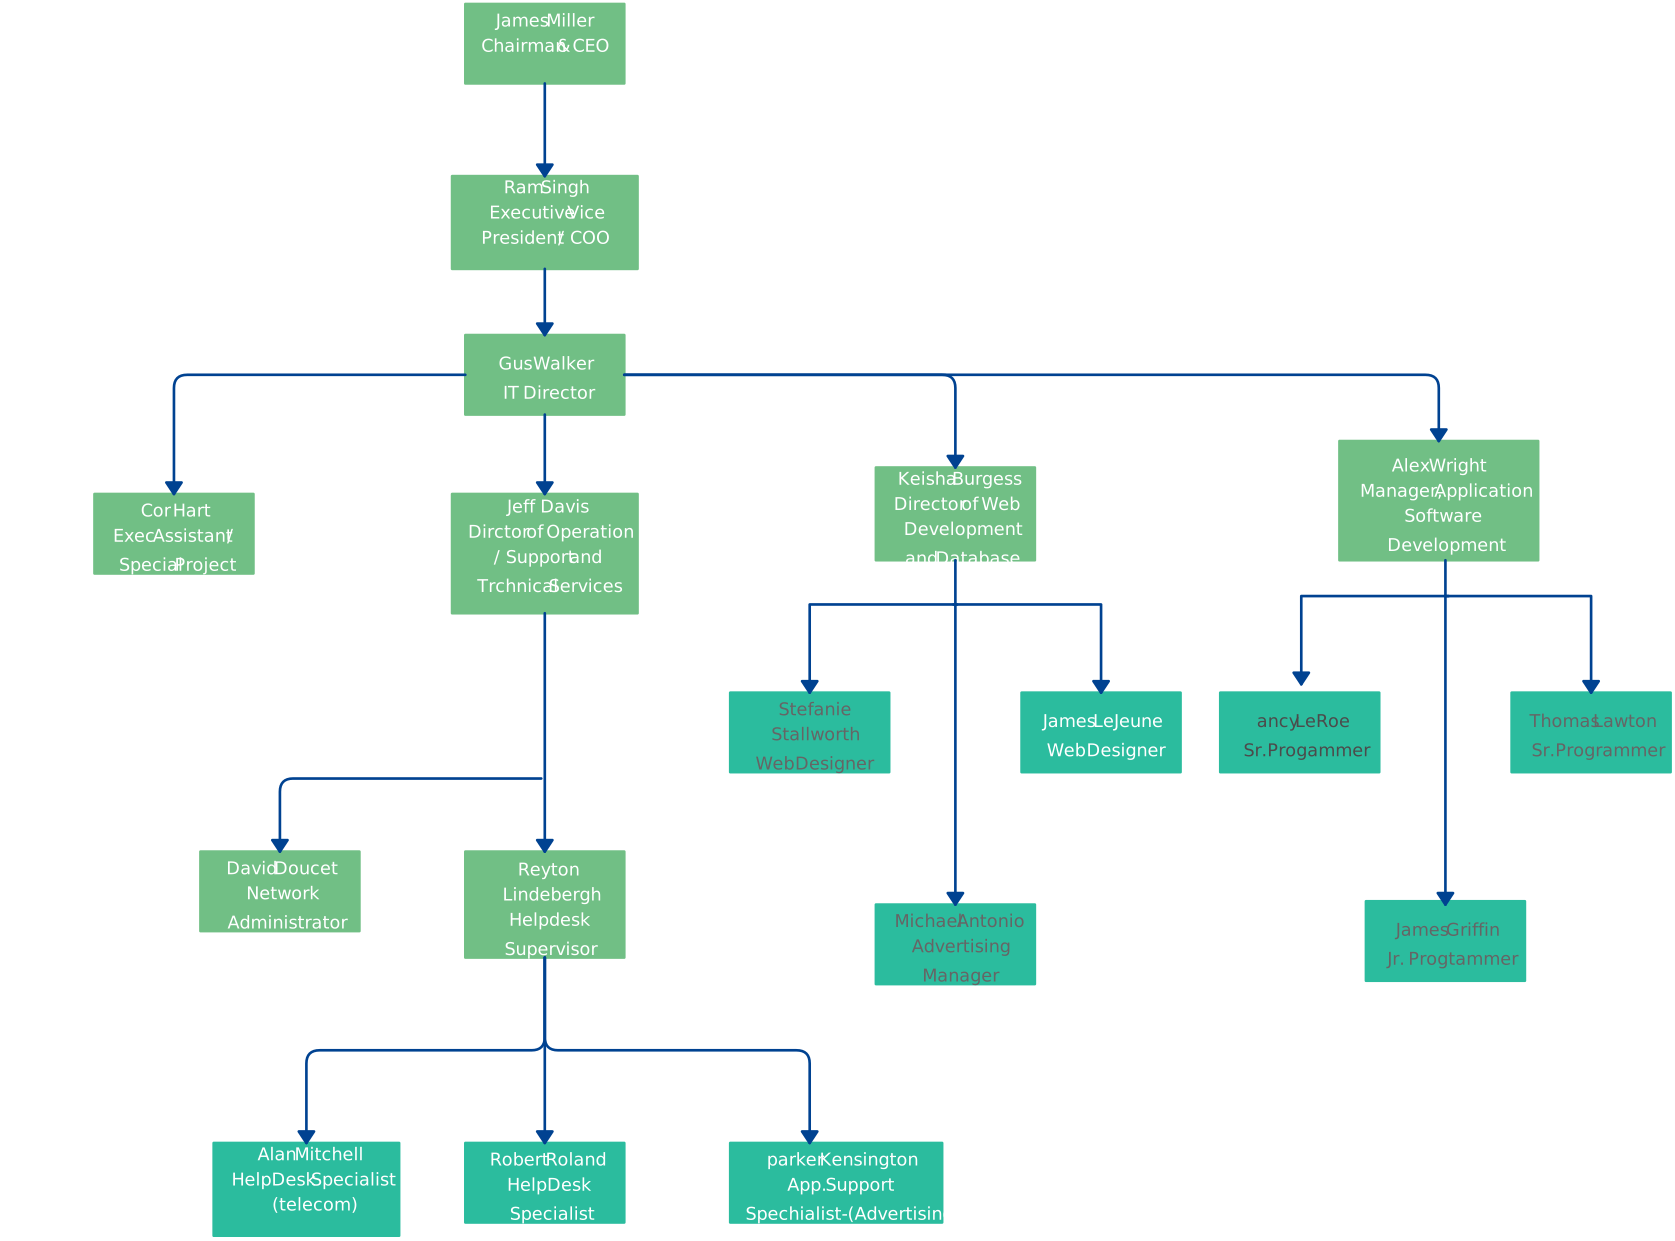
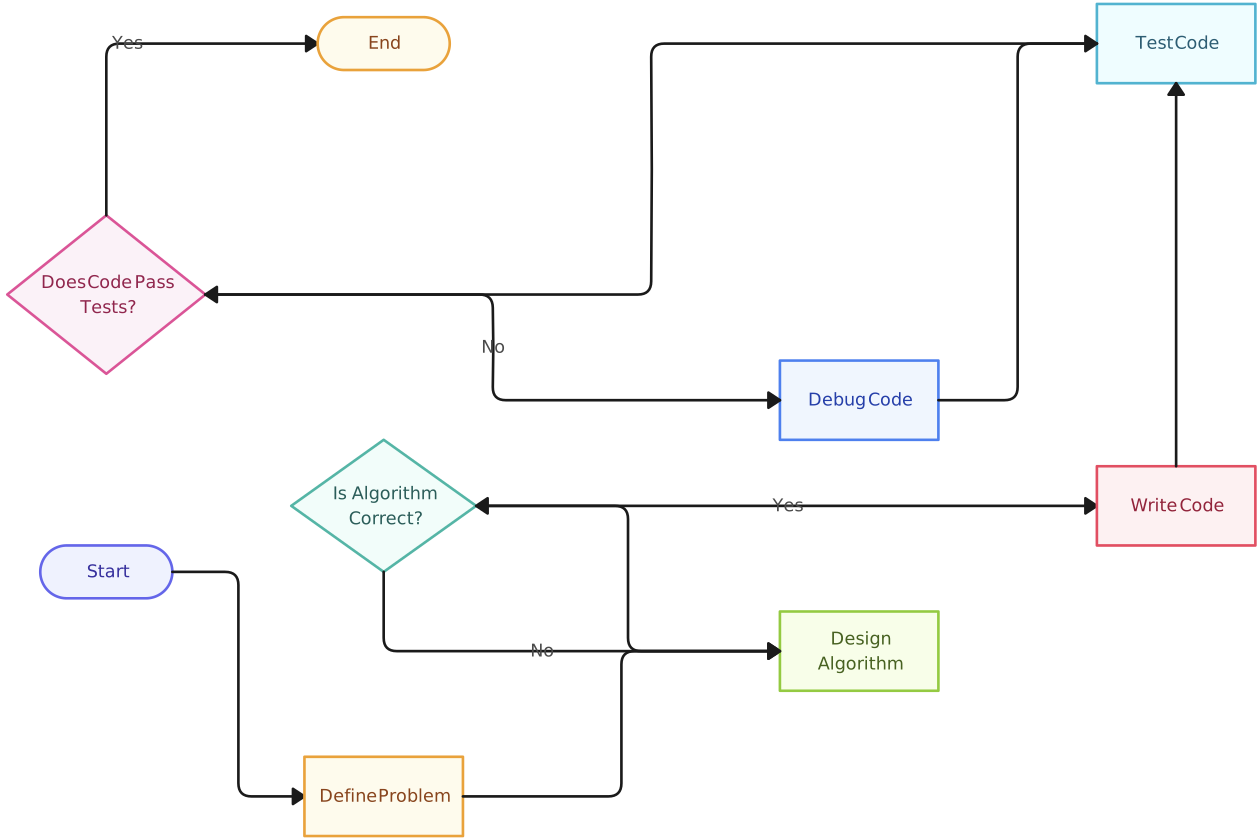
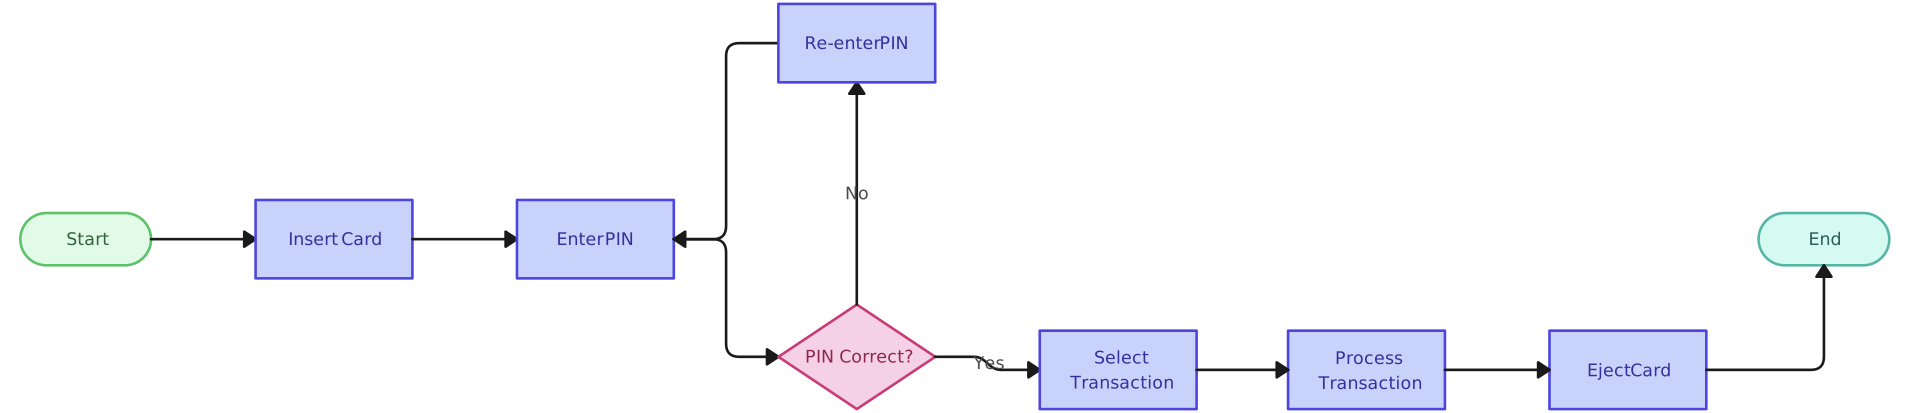
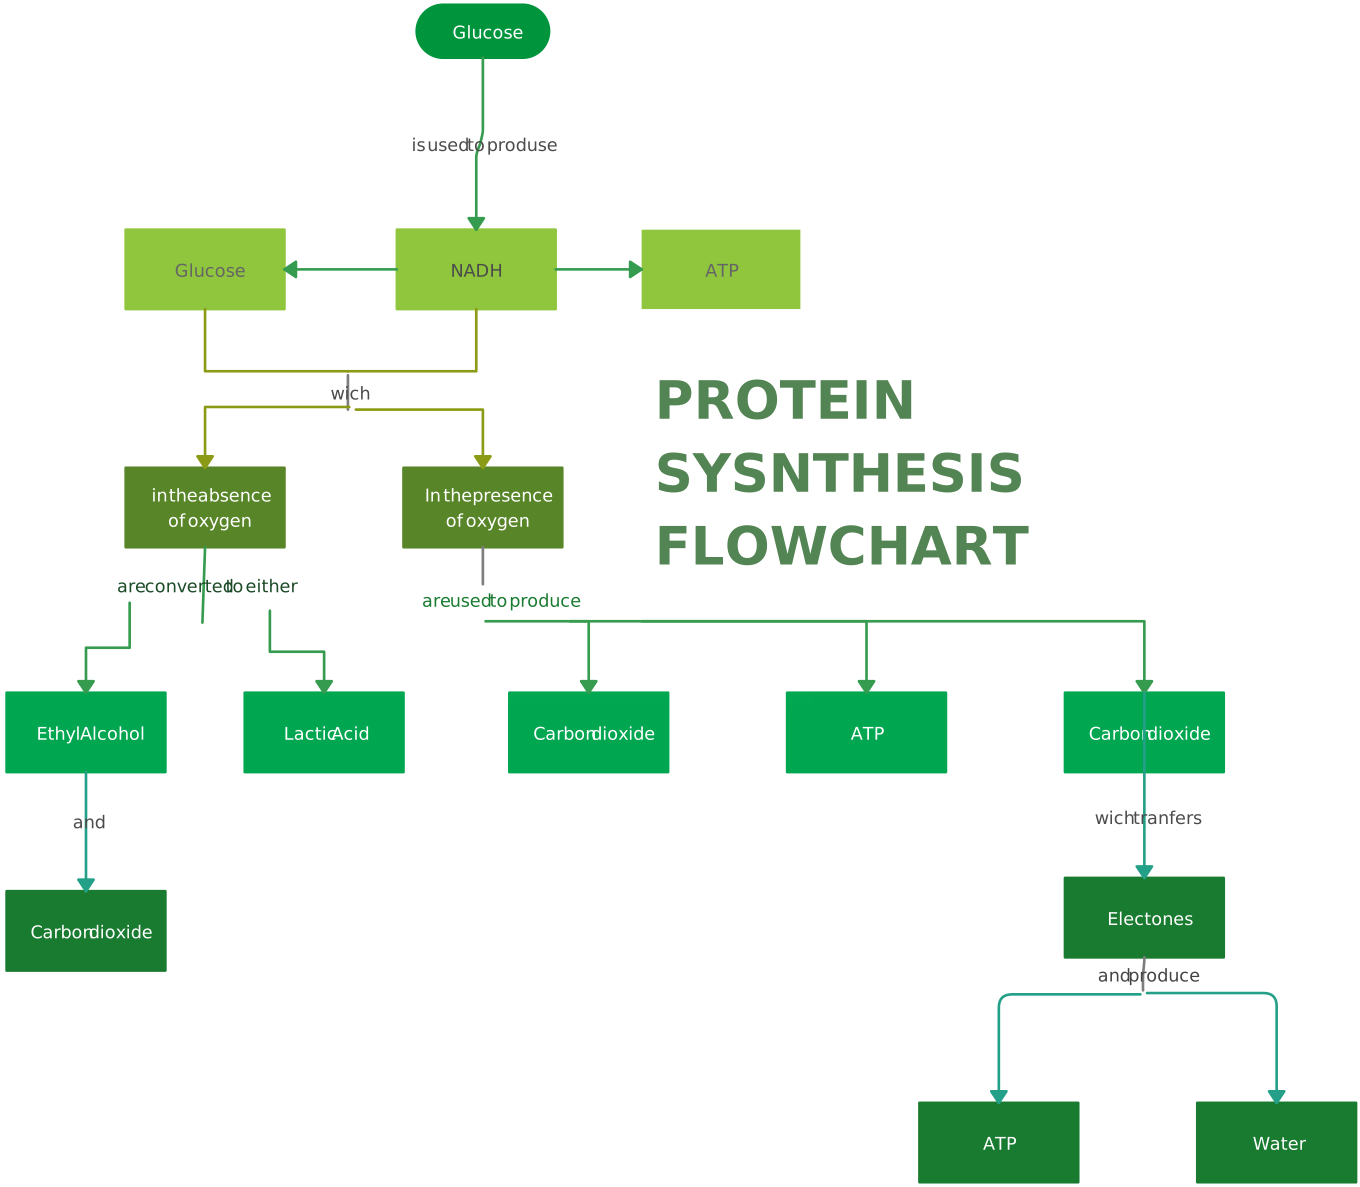
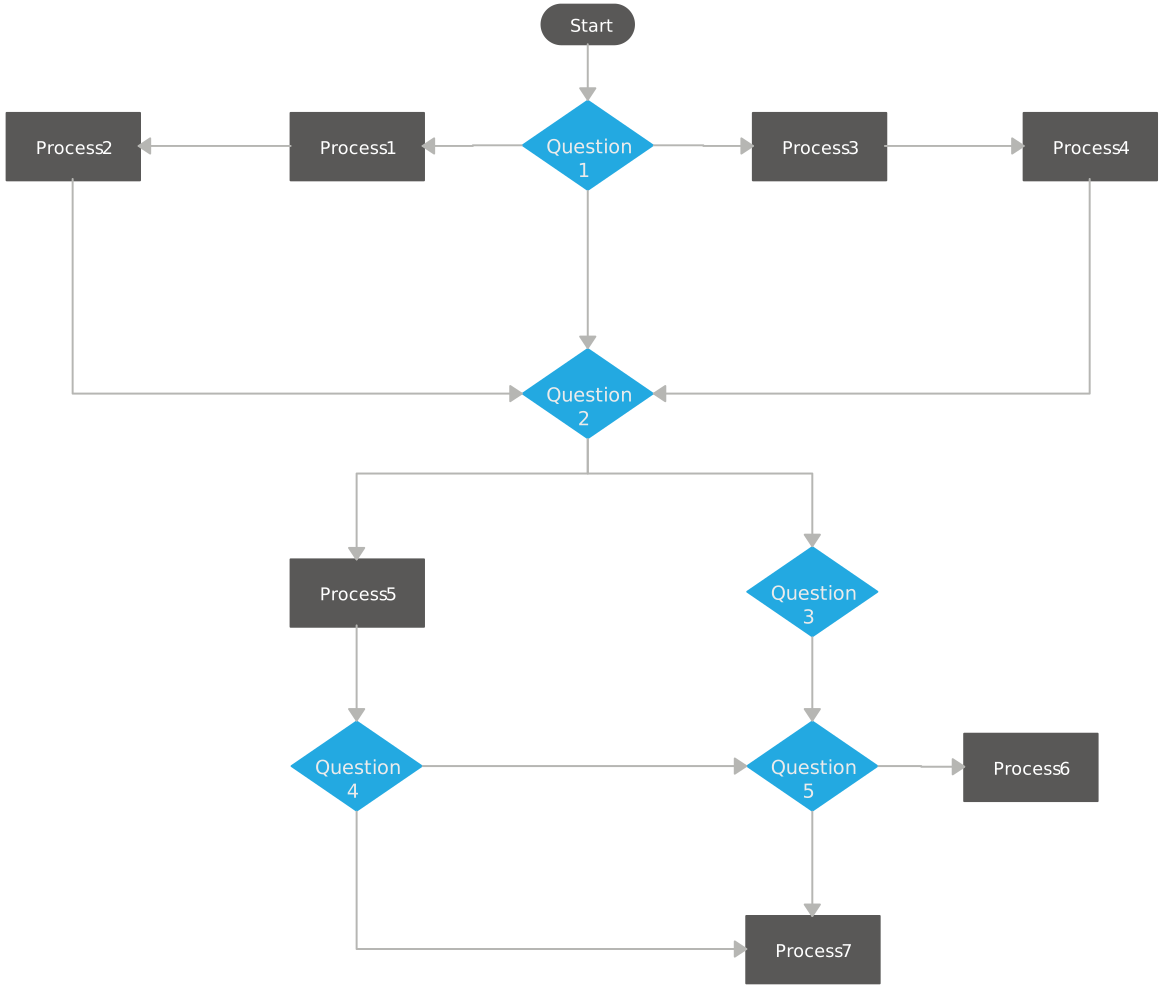
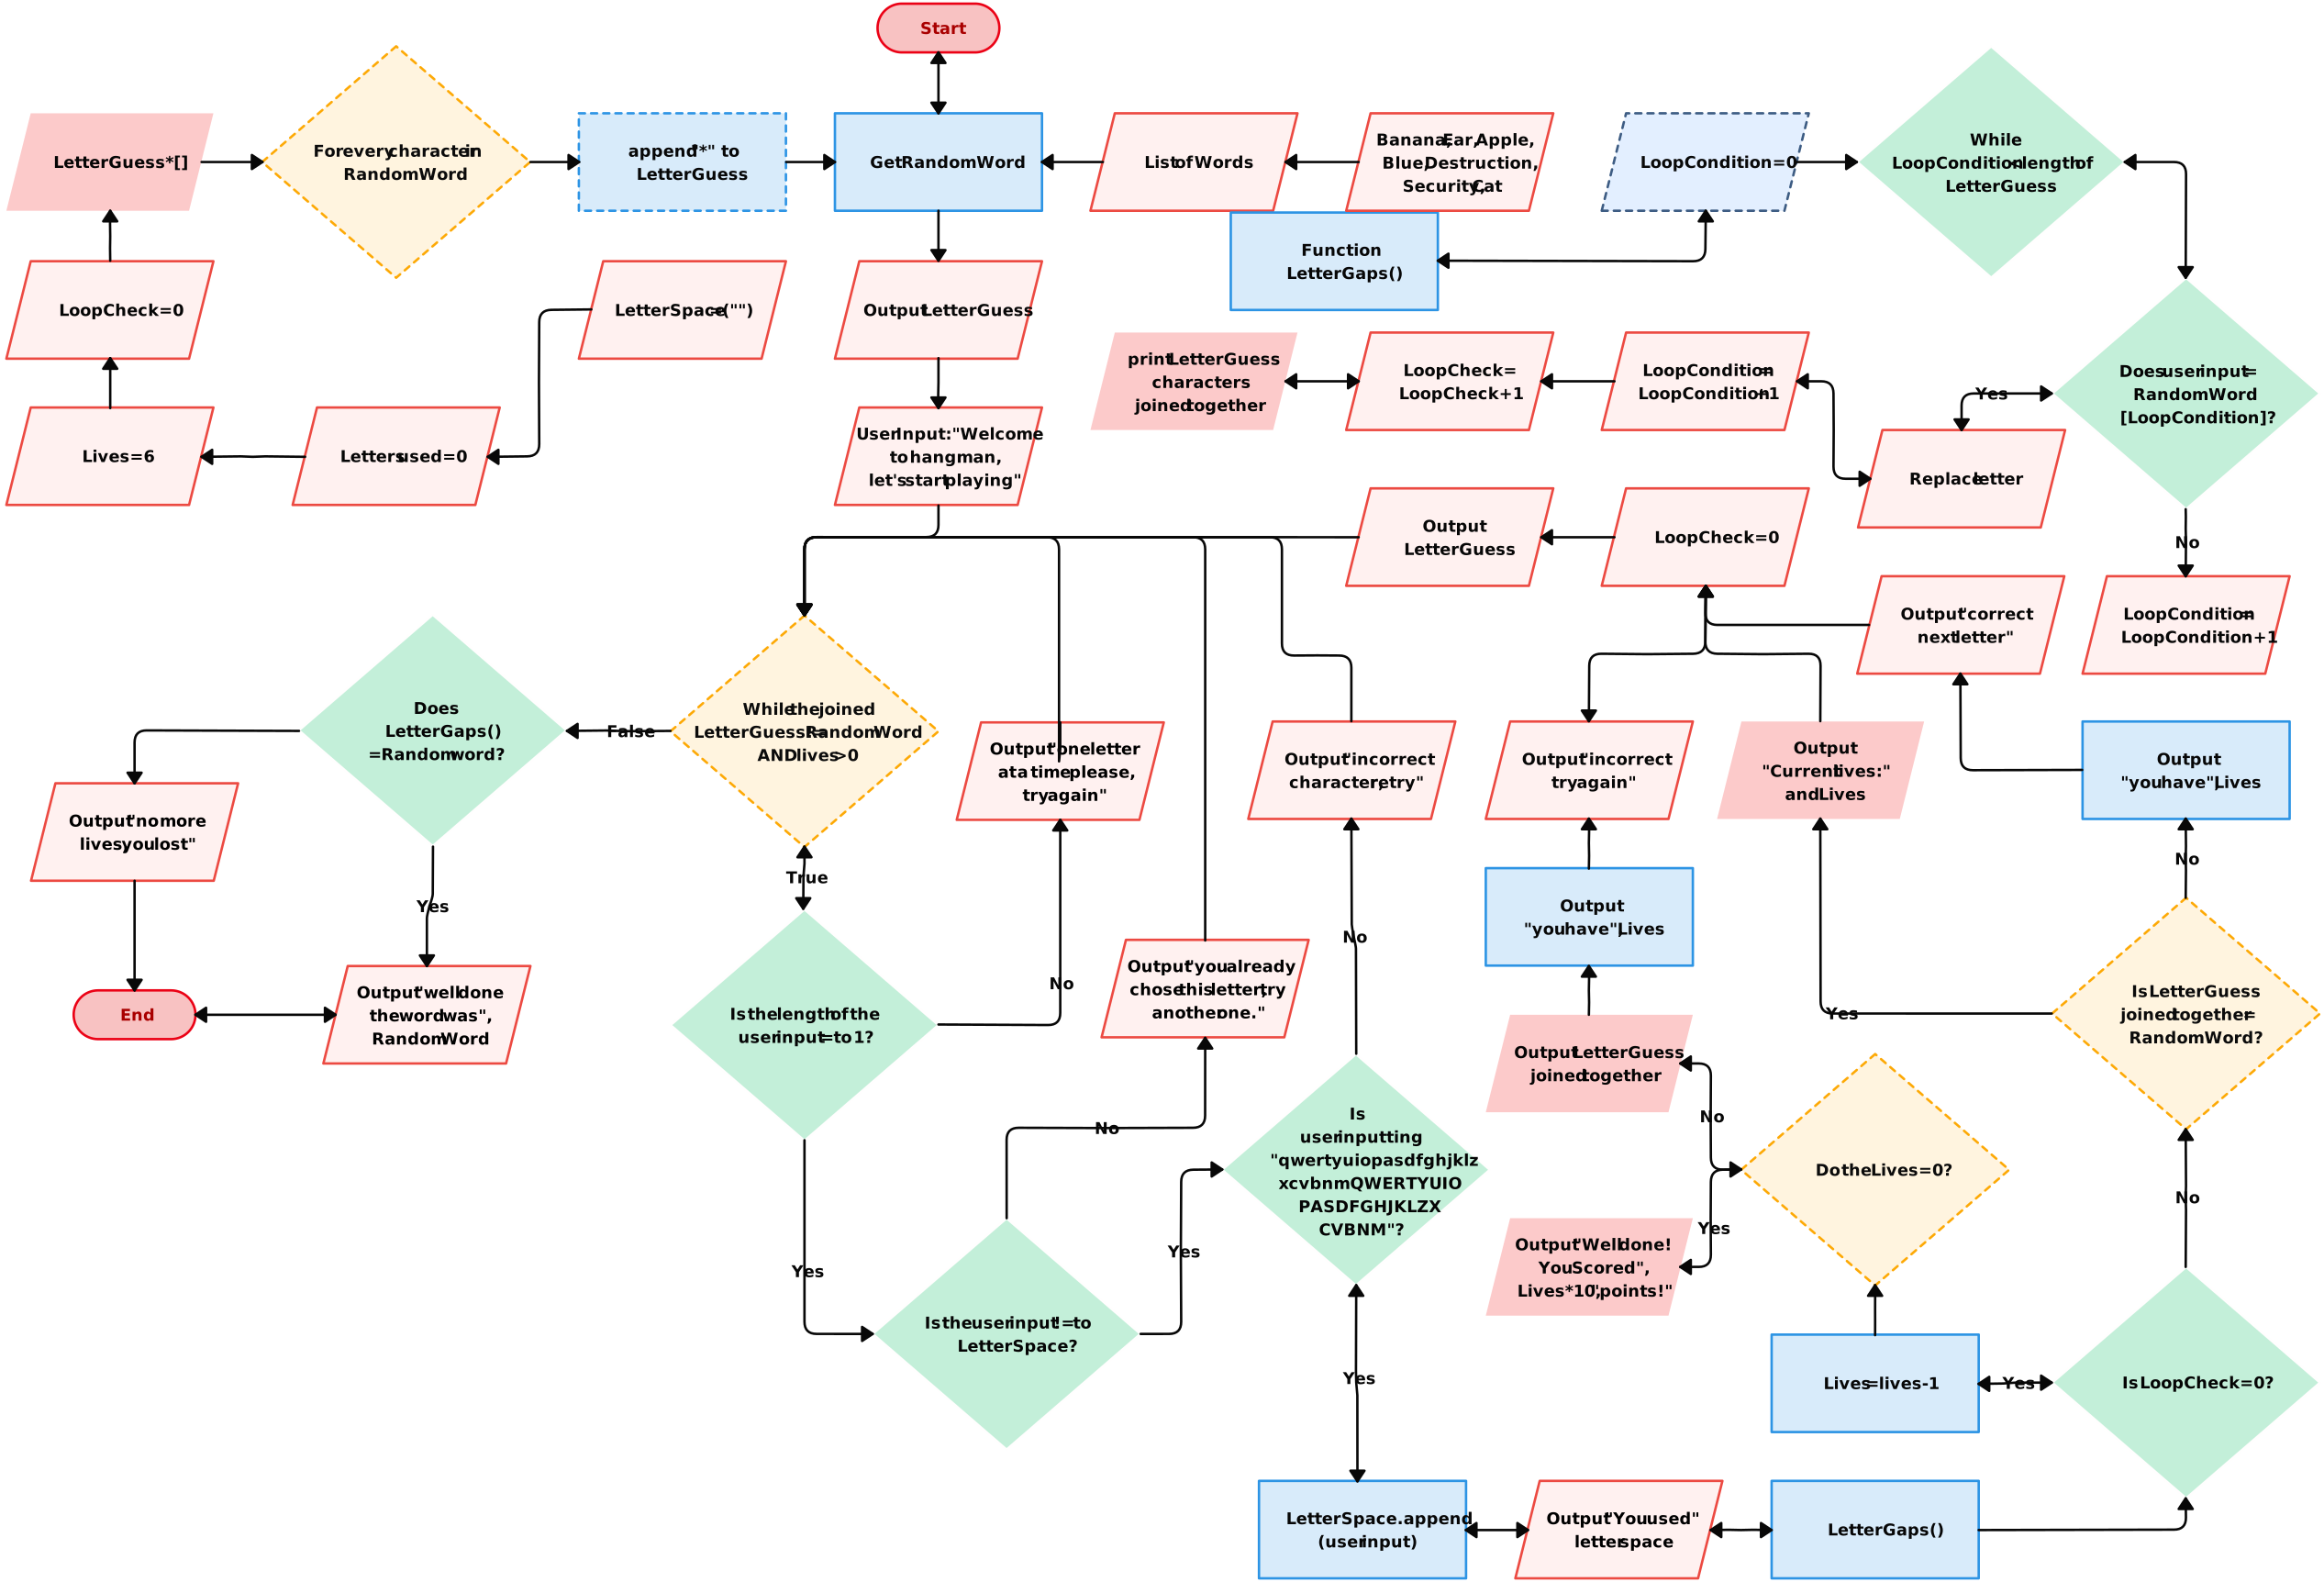
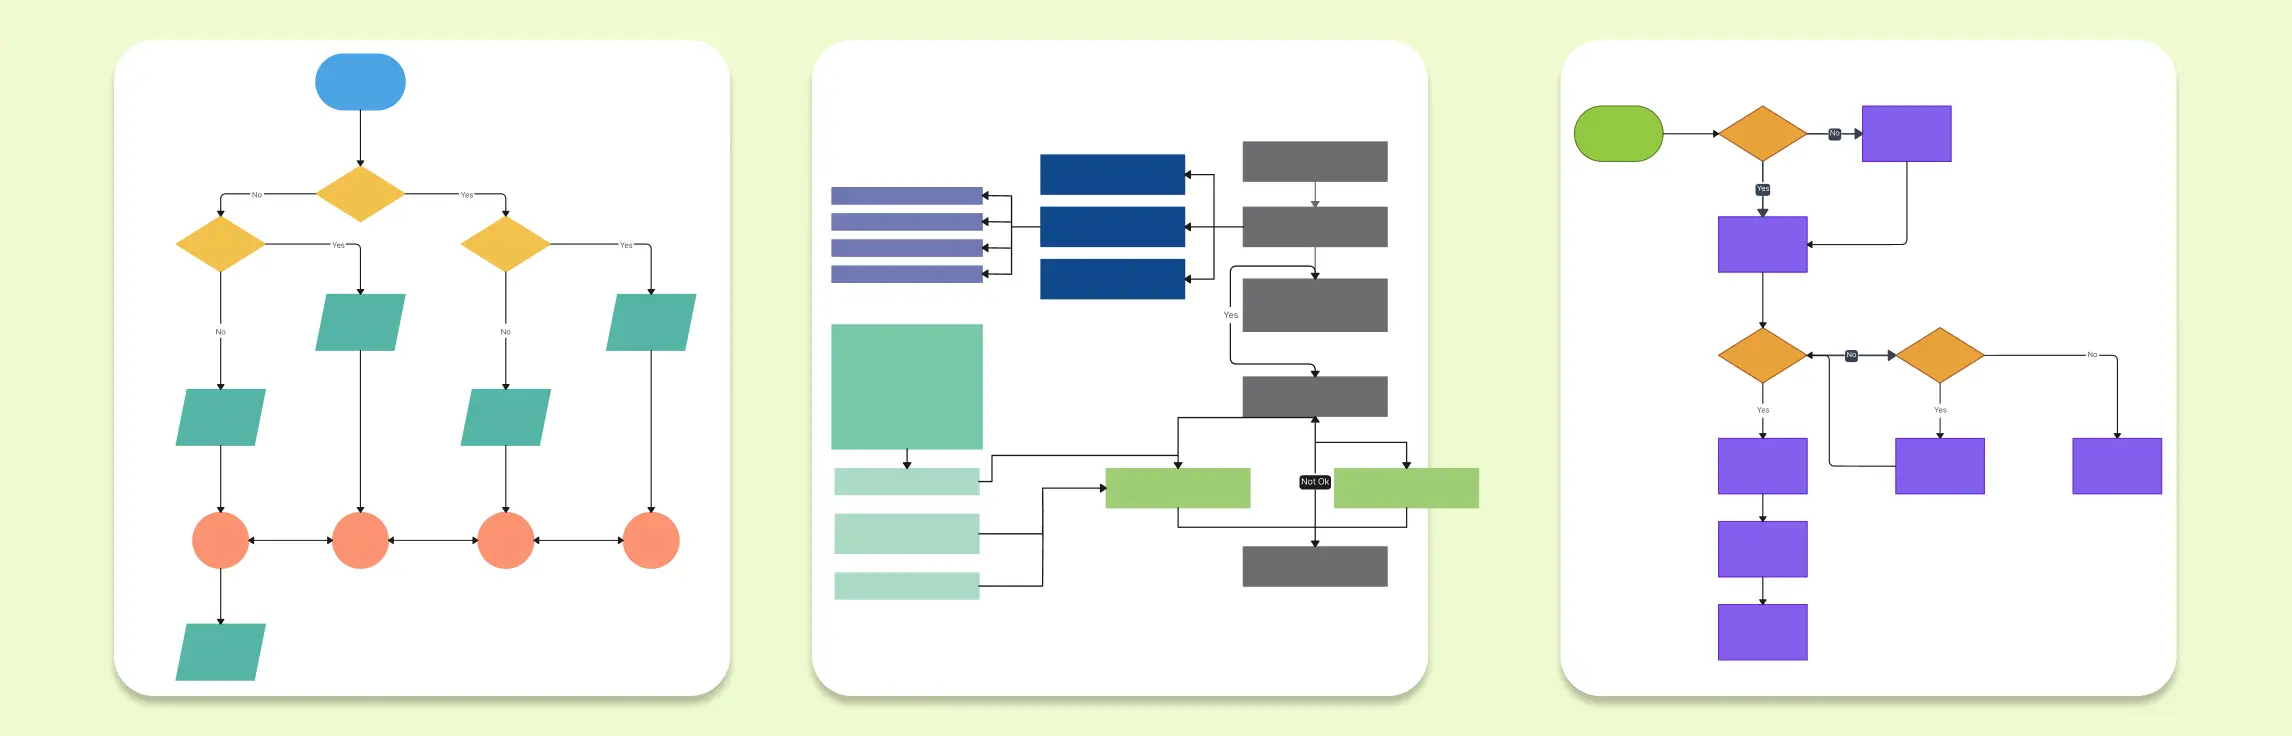
Each template is fully customizable to suit your specific needs. Whether mapping business processes, designing systems, or organizing project workflows, Creately’s templates help bring your ideas to life.
Check out our flowchart templates for inspiration and ready-made templates to kickstart your diagramming process.
Watch this video to learn step-by-step techniques for creating professional flowcharts in Creately.
Conclusion
While Microsoft Word offers basic functionalities to create flowcharts, it may not be the most efficient tool for complex diagrams. For advanced features, better customization, and real-time collaboration, tools like Creately provide a more comprehensive solution. However, for straightforward and quick flowcharts, Word is a convenient and accessible option.