
Flowcharts are essential for illustrating processes, workflows, and systems. They simplify complex tasks, highlight inefficiencies, and help communicate ideas effectively. Although Excel is primarily recognized as a spreadsheet tool, it also includes features that enable users to craft clear and structured flowcharts.
What is a Flowchart?
A flowchart is a visual representation of a process or workflow, using specific symbols to denote steps and decisions. Rectangles indicate processes, diamonds represent decision points, and arrows show the sequence and direction of steps. These diagrams are frequently used in areas like business process mapping, project management, and strategic decision-making. flowchart symbols, such as ovals for start/end points, parallelograms for inputs/outputs, and circles for connectors, enhance clarity and standardization. Common types of flowcharts include process, data, workflow, and system flowcharts, each representing different aspects of processes and systems. These diagrams are widely used in business process mapping, project management, and strategic decision-making.
How to Make a Flowchart in Excel
Method 1: Using Basic Shapes
Step 1: Set Up Your Excel Workbook
- Open Excel: Launch Microsoft Excel and open a blank workbook.
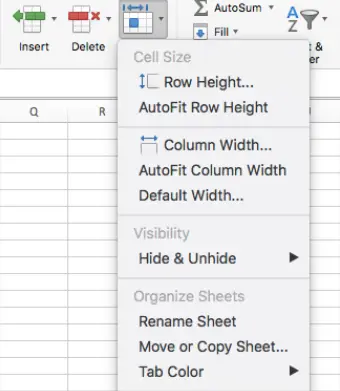
- Adjust the Grid: For a better layout, adjust the column width to match the row height. Select all cells (Ctrl + A), right-click on a column header, choose “Column Width,” and set it to a value like 20.
- Enable Snap to Grid: Go to View > Show and enable “Gridlines” and “Snap to Grid” for easier alignment.
Step 2: Insert Flowchart Shapes
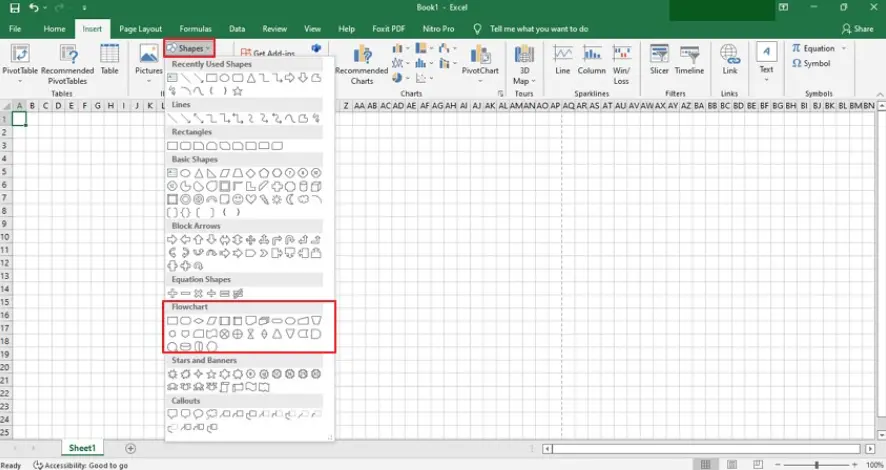
- Access Shapes: Navigate to Insert > Illustrations > Shapes. Under “Flowchart,” you’ll find common symbols like Process, Decision, and Terminator.
- Draw Shapes: Click on a shape, then click and drag on the worksheet to draw it. Repeat for each step of the process.
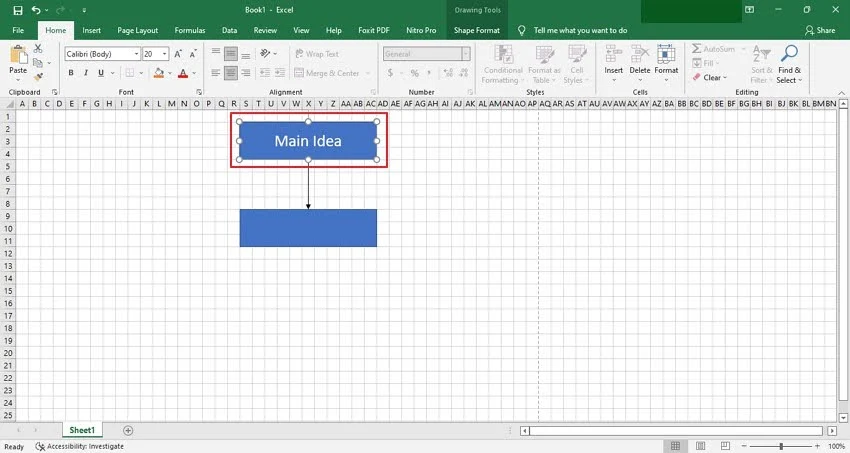
- Add Text: Double-click inside each shape to add descriptive text.
Step 3: Connect Shapes with Arrows
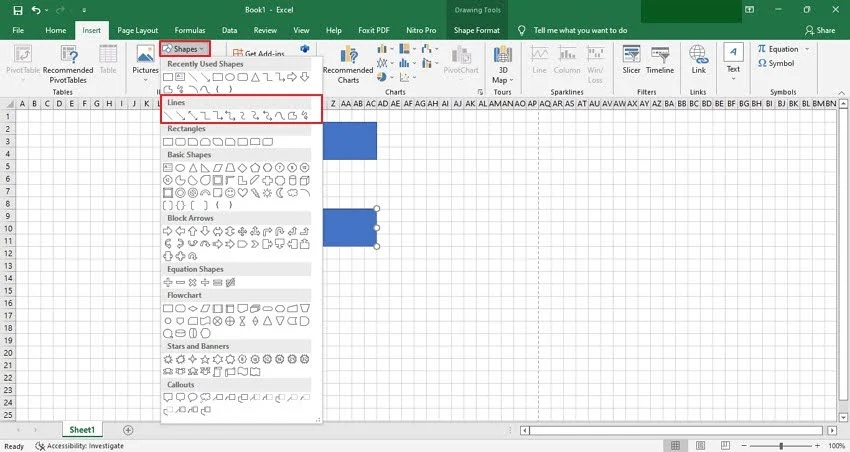
- Insert Connectors: Go to Insert > Shapes and select an arrow or line to connect the flowchart shapes.
- Align Connectors: Use Excel’s alignment tools under the “Shape Format” tab to ensure arrows are straight and properly connected.
Step 4: Format Your Flowchart
- Customize Shapes: Right-click on a shape and choose “Format Shape” to change the fill color, outline, and text style.
- Adjust Connector Styles: Click on connectors to modify their color, thickness, or arrow style.
- Use Smart Guides: Excel automatically suggests alignments and spacing for consistent formatting.
Step 5: Group and Finalize
- Group Elements: Select all the shapes and connectors, right-click, and choose “Group” to combine them. This helps in moving the entire flowchart easily.
- Review Layout: Ensure the flowchart is logically structured and all elements are clearly connected.
Method 2: Using SmartArt
Step 1: Set Up Your Excel Workbook
- Open Excel: Launch Microsoft Excel and open a blank workbook.
- Adjust the Grid (Optional): For better alignment, you can adjust column widths to match row heights, though SmartArt will auto-align shapes.
- Enable Snap to Grid (Optional): Go to View > Show and enable Gridlines if you prefer visual alignment guidance.
Step 2: Insert SmartArt for the Flowchart
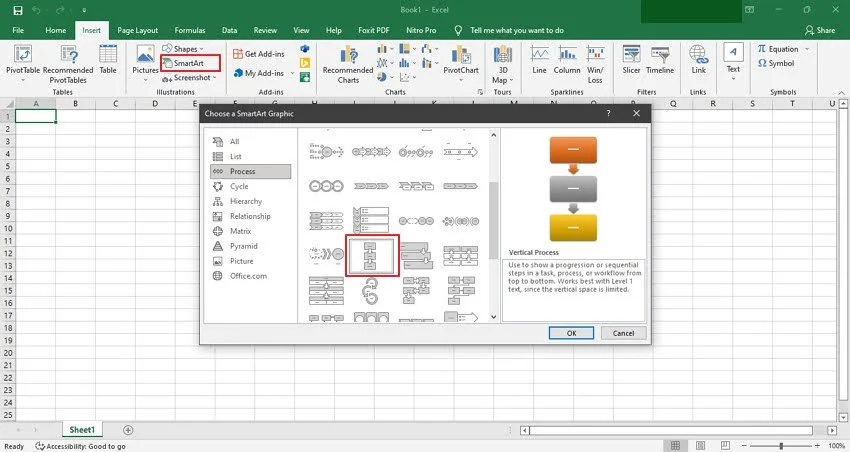
- Access SmartArt: Navigate to Insert > Illustrations > SmartArt.
- Choose a Flowchart Layout: In the Choose a SmartArt Graphic dialog:
- Select Process from the left panel.
- Pick a layout suitable for your process (like Basic Process, Vertical Chevron List, or Horizontal Process).
- Click OK to insert it.
Step 3: Add Text and Modify Shapes
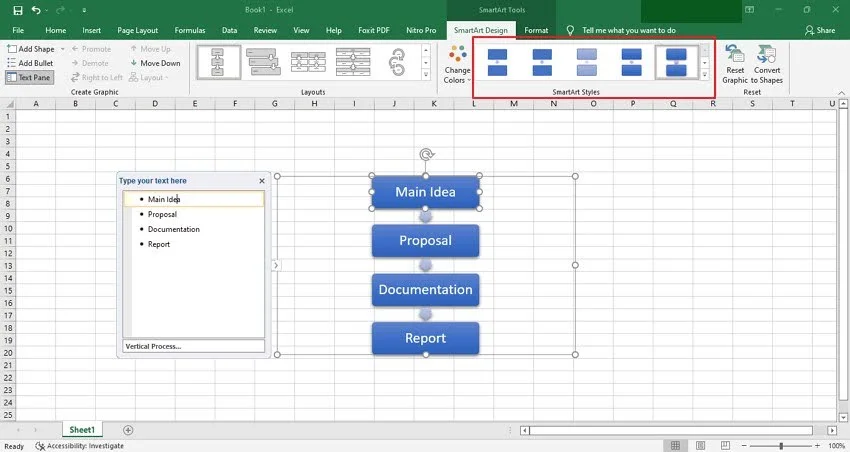
- Add Text: Click inside each shape to type process steps. Alternatively, use the text pane (visible next to the SmartArt or accessible via the arrow icon) to input text.
- Add or Remove Shapes:
- To add a shape, select an existing shape, go to the SmartArt Design tab, and click Add Shape to insert it before, after, above, or below.
- To remove a shape, select it and press Delete.
- Rearrange Shapes: Drag shapes within the SmartArt graphic to adjust the flow as needed.
Step 4: Connect and Format the Flowchart
- Connectors: SmartArt automatically connects shapes based on the chosen layout. Adjust the layout if connections aren’t as desired.
- Customize Appearance:
- Use the SmartArt Design tab to change the layout, styles, or colors.
- Use the Format tab to further customize shapes, text, and outlines (like adjusting fill color, outline thickness, or text styles).
- Align and Distribute: Utilize alignment and distribution tools in the Format tab to ensure even spacing and alignment.
Step 5: Group and Finalize
- Convert to Shapes (Optional): If you need more customization, right-click the SmartArt graphic and select Convert to Shapes. This allows manual editing of individual shapes and connectors.
- Group Elements (Optional): After converting, select all shapes and connectors, right-click, and choose Group to keep them together.
- Review Layout: Ensure all steps are logically connected and the flowchart is easy to follow. Make final adjustments to text, colors, or positioning.
Tips to Enhance Your Flowchart in Excel
- Use Consistent Colors: Apply a color scheme for process, decision, and terminator shapes for better readability.
- Add Legends: If your flowchart is complex, include a legend to explain symbols and colors.
- Align and Distribute Shapes: Use the “Align” and “Distribute” options under the “Shape Format” tab for a neat layout.
- Utilize Templates: If you frequently create flowcharts, consider setting up a template for consistency.
Saving and Sharing Your Excel Flowchart
- Save the File: Go to File > Save As and choose your desired file format (XLSX, PDF, etc.).
- Export as Image: To share as an image, select the flowchart, right-click, choose “Save as Picture,” and save in PNG or JPEG format.
- Sharing Options: Share the Excel file via email or cloud storage for easy collaboration.
Applications of Flowcharts in Excel
Business Process Documentation: Use flowcharts to create business process charts for documenting workflows like client onboarding, procurement, and internal operations, aiding in training and standardization.
Project Planning: Visualize project timelines, tasks, milestones, and procurement steps to streamline execution and track progress efficiently.
Decision Analysis: Outline decision-making processes, such as selecting vendors during procurement or assessing lead qualification in lead generation strategies.
Data Analysis Workflows: Represent data processing steps, from initial data collection to final analysis, ensuring clarity in processes like client onboarding evaluations or market research.
Software Development: Design logic flows and system processes, mapping out decision paths for lead generation systems or procurement automation.
Limitations of Creating Flowcharts in Excel
While Excel is convenient, it has limitations for advanced flowchart creation:
Limited Flexibility: Manually adjusting shapes and connectors can be time-consuming, especially for complex diagrams. Excel lacks advanced features like smart connectors and automatic alignment, making modifications more tedious.
Basic Design Options: Excel provides only basic shapes and limited design customization, restricting creativity and resulting in less refined and professional-looking flowcharts.
No Real-Time Collaboration: Excel doesn’t offer advanced real-time collaboration features for simultaneous multi-user editing, complicating teamwork and feedback collection.
Limited Export and Integration Options: Exporting options are restricted, and integrating with tools like Confluence, Jira, or Google Drive isn’t seamless, affecting workflow efficiency.
Lack of Automation Features: Every element in Excel requires manual adjustments, increasing the likelihood of errors and making the flowchart creation process more time-intensive.
Helpful Resources
Collaborative flowchart software to map processes, visualize user flows and workflows, and document processes
This flowchart tutorial will teach you all you need to know about flowcharts.
This guide will walk you through everything you need to know about flowchart symbols, their usage, best practices, and common mistakes.
What is the Easiest Way to Create a Flowchart?
For more efficient and collaborative flowcharting, consider tools like Creately’s flowchart maker. These platforms provide advanced diagramming capabilities, real-time collaboration, and an array of templates, ensuring a smoother and faster creation process.
Why Creately is the Best Tool for Creating Flowcharts
Flowchart Software: Creately offers a robust flowchart software with essential features for individuals and students. It’s perfect for basic creation, editing, and collaboration, with upgrade options available for advanced functionalities and integrations.
AI-Powered Features: Creately VIZ offers AI-driven AI Flowchart Maker with capabilities that suggest shapes, auto-generate flowcharts from text, and enhance process visualization, accelerating diagram creation and reducing manual effort. Explore our premium AI Flowchart Template to effortlessly create advanced flowcharts with AI-powered features.


Drag-and-Drop Simplicity: The intuitive drag-and-drop interface makes designing and modifying flowcharts straightforward, catering to both beginners and professionals handling intricate workflows.
Smart Connectors for Seamless Process Flows: Auto-aligning smart connectors ensure that your process flows remain logical and clear. They adjust automatically when elements are rearranged, preserving the diagram’s clarity and consistency.
Real-Time Collaboration: Collaborate effortlessly with multi-user editing, commenting, and synced previews. Whether you’re working remotely or hosting brainstorming sessions, Creately enhances team collaboration.
Customizable Templates: Access a wide range of ready-made flowchart templates for diverse use cases such as business process mapping, system design, and project workflows, helping you get started quickly.
Easy Export & Integration: Export your flowcharts in various formats (PDF, PNG, SVG) and integrate seamlessly with platforms like Google Drive, Slack, Confluence, and Jira to optimize your documentation and workflow processes.
With its intuitive design, advanced collaboration tools, and AI-enhanced automation, Creately simplifies the creation of professional flowcharts that streamline complex processes and boost productivity.
Creately’s Ready-Made Flowchart Templates
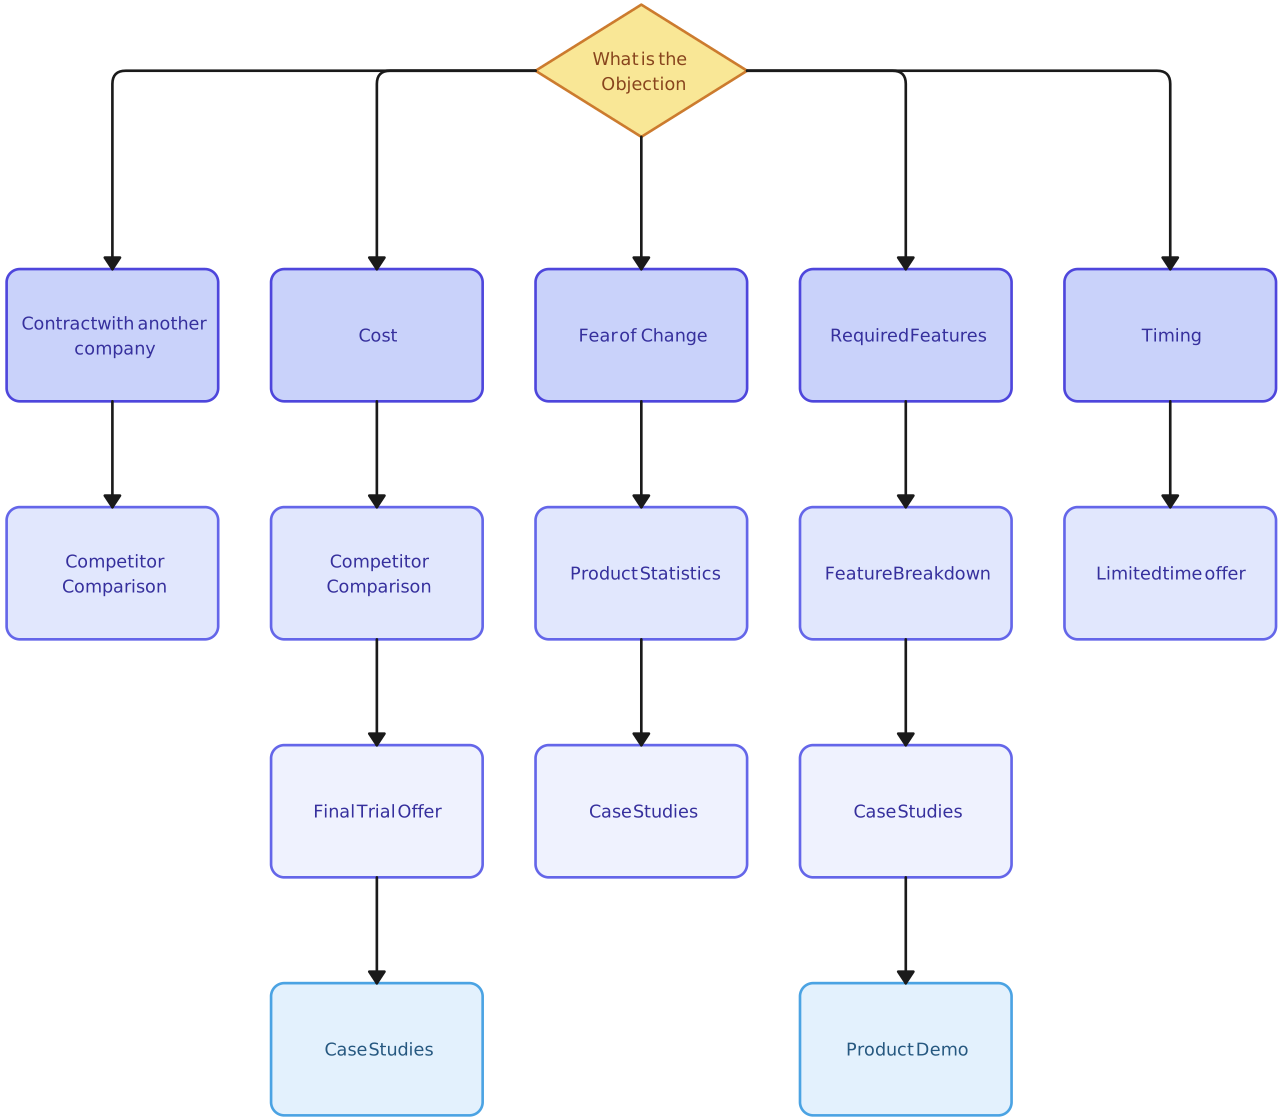


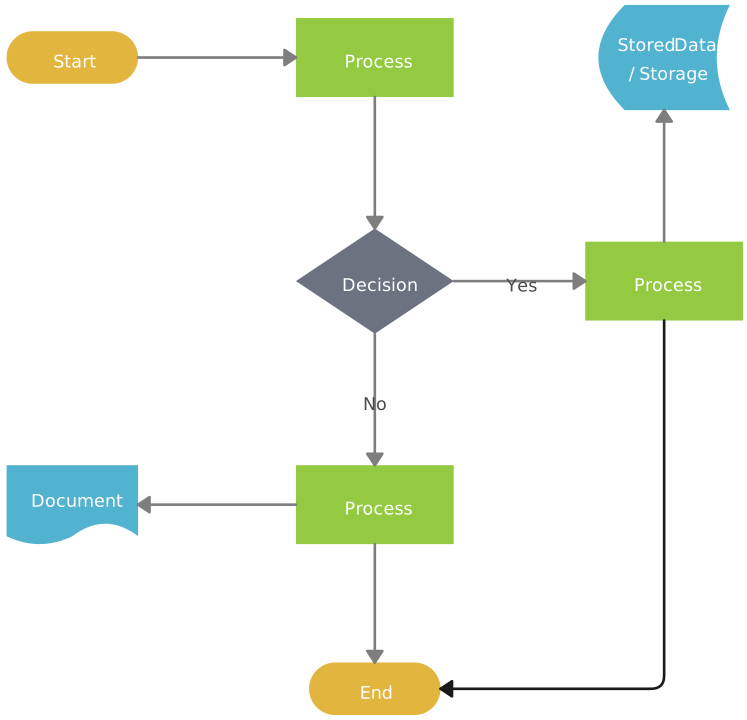
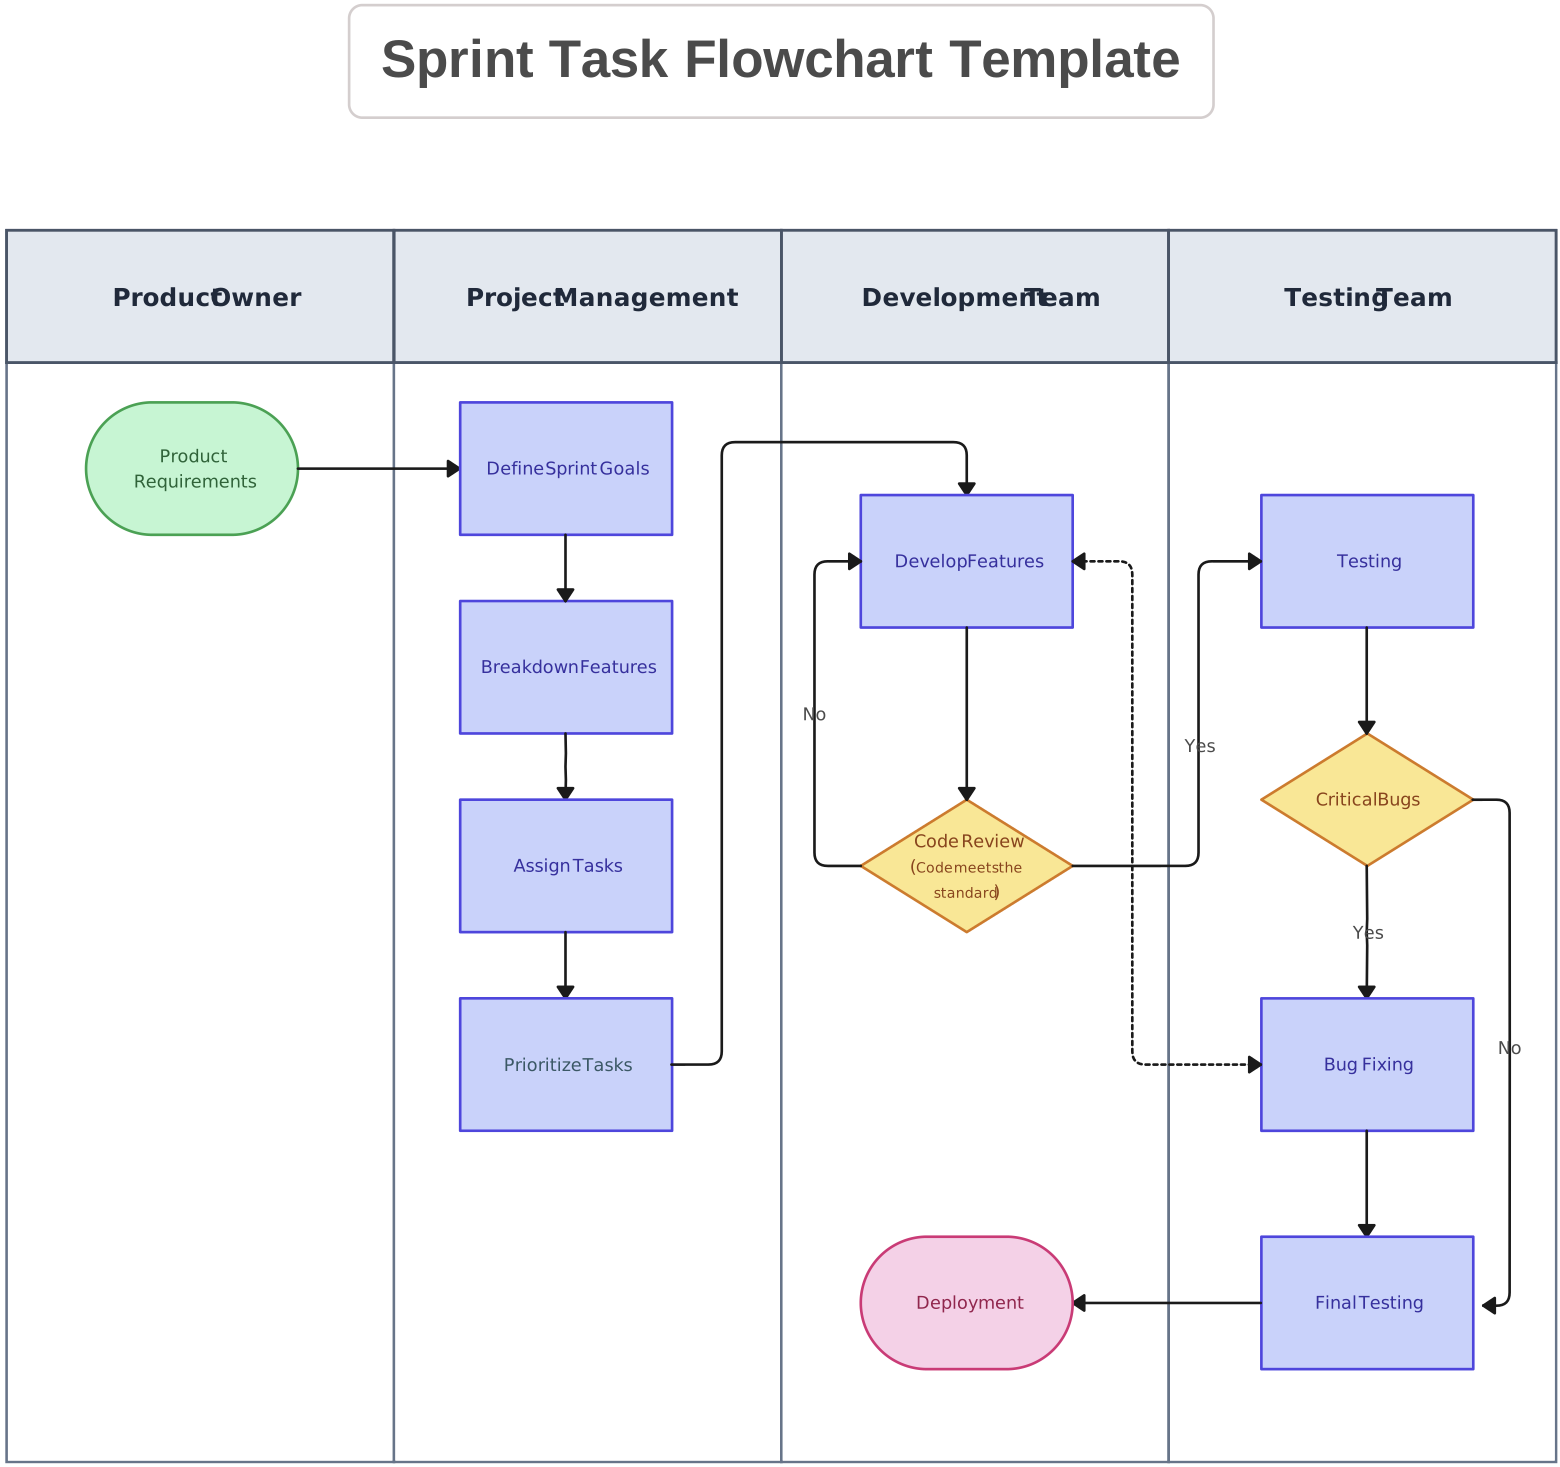
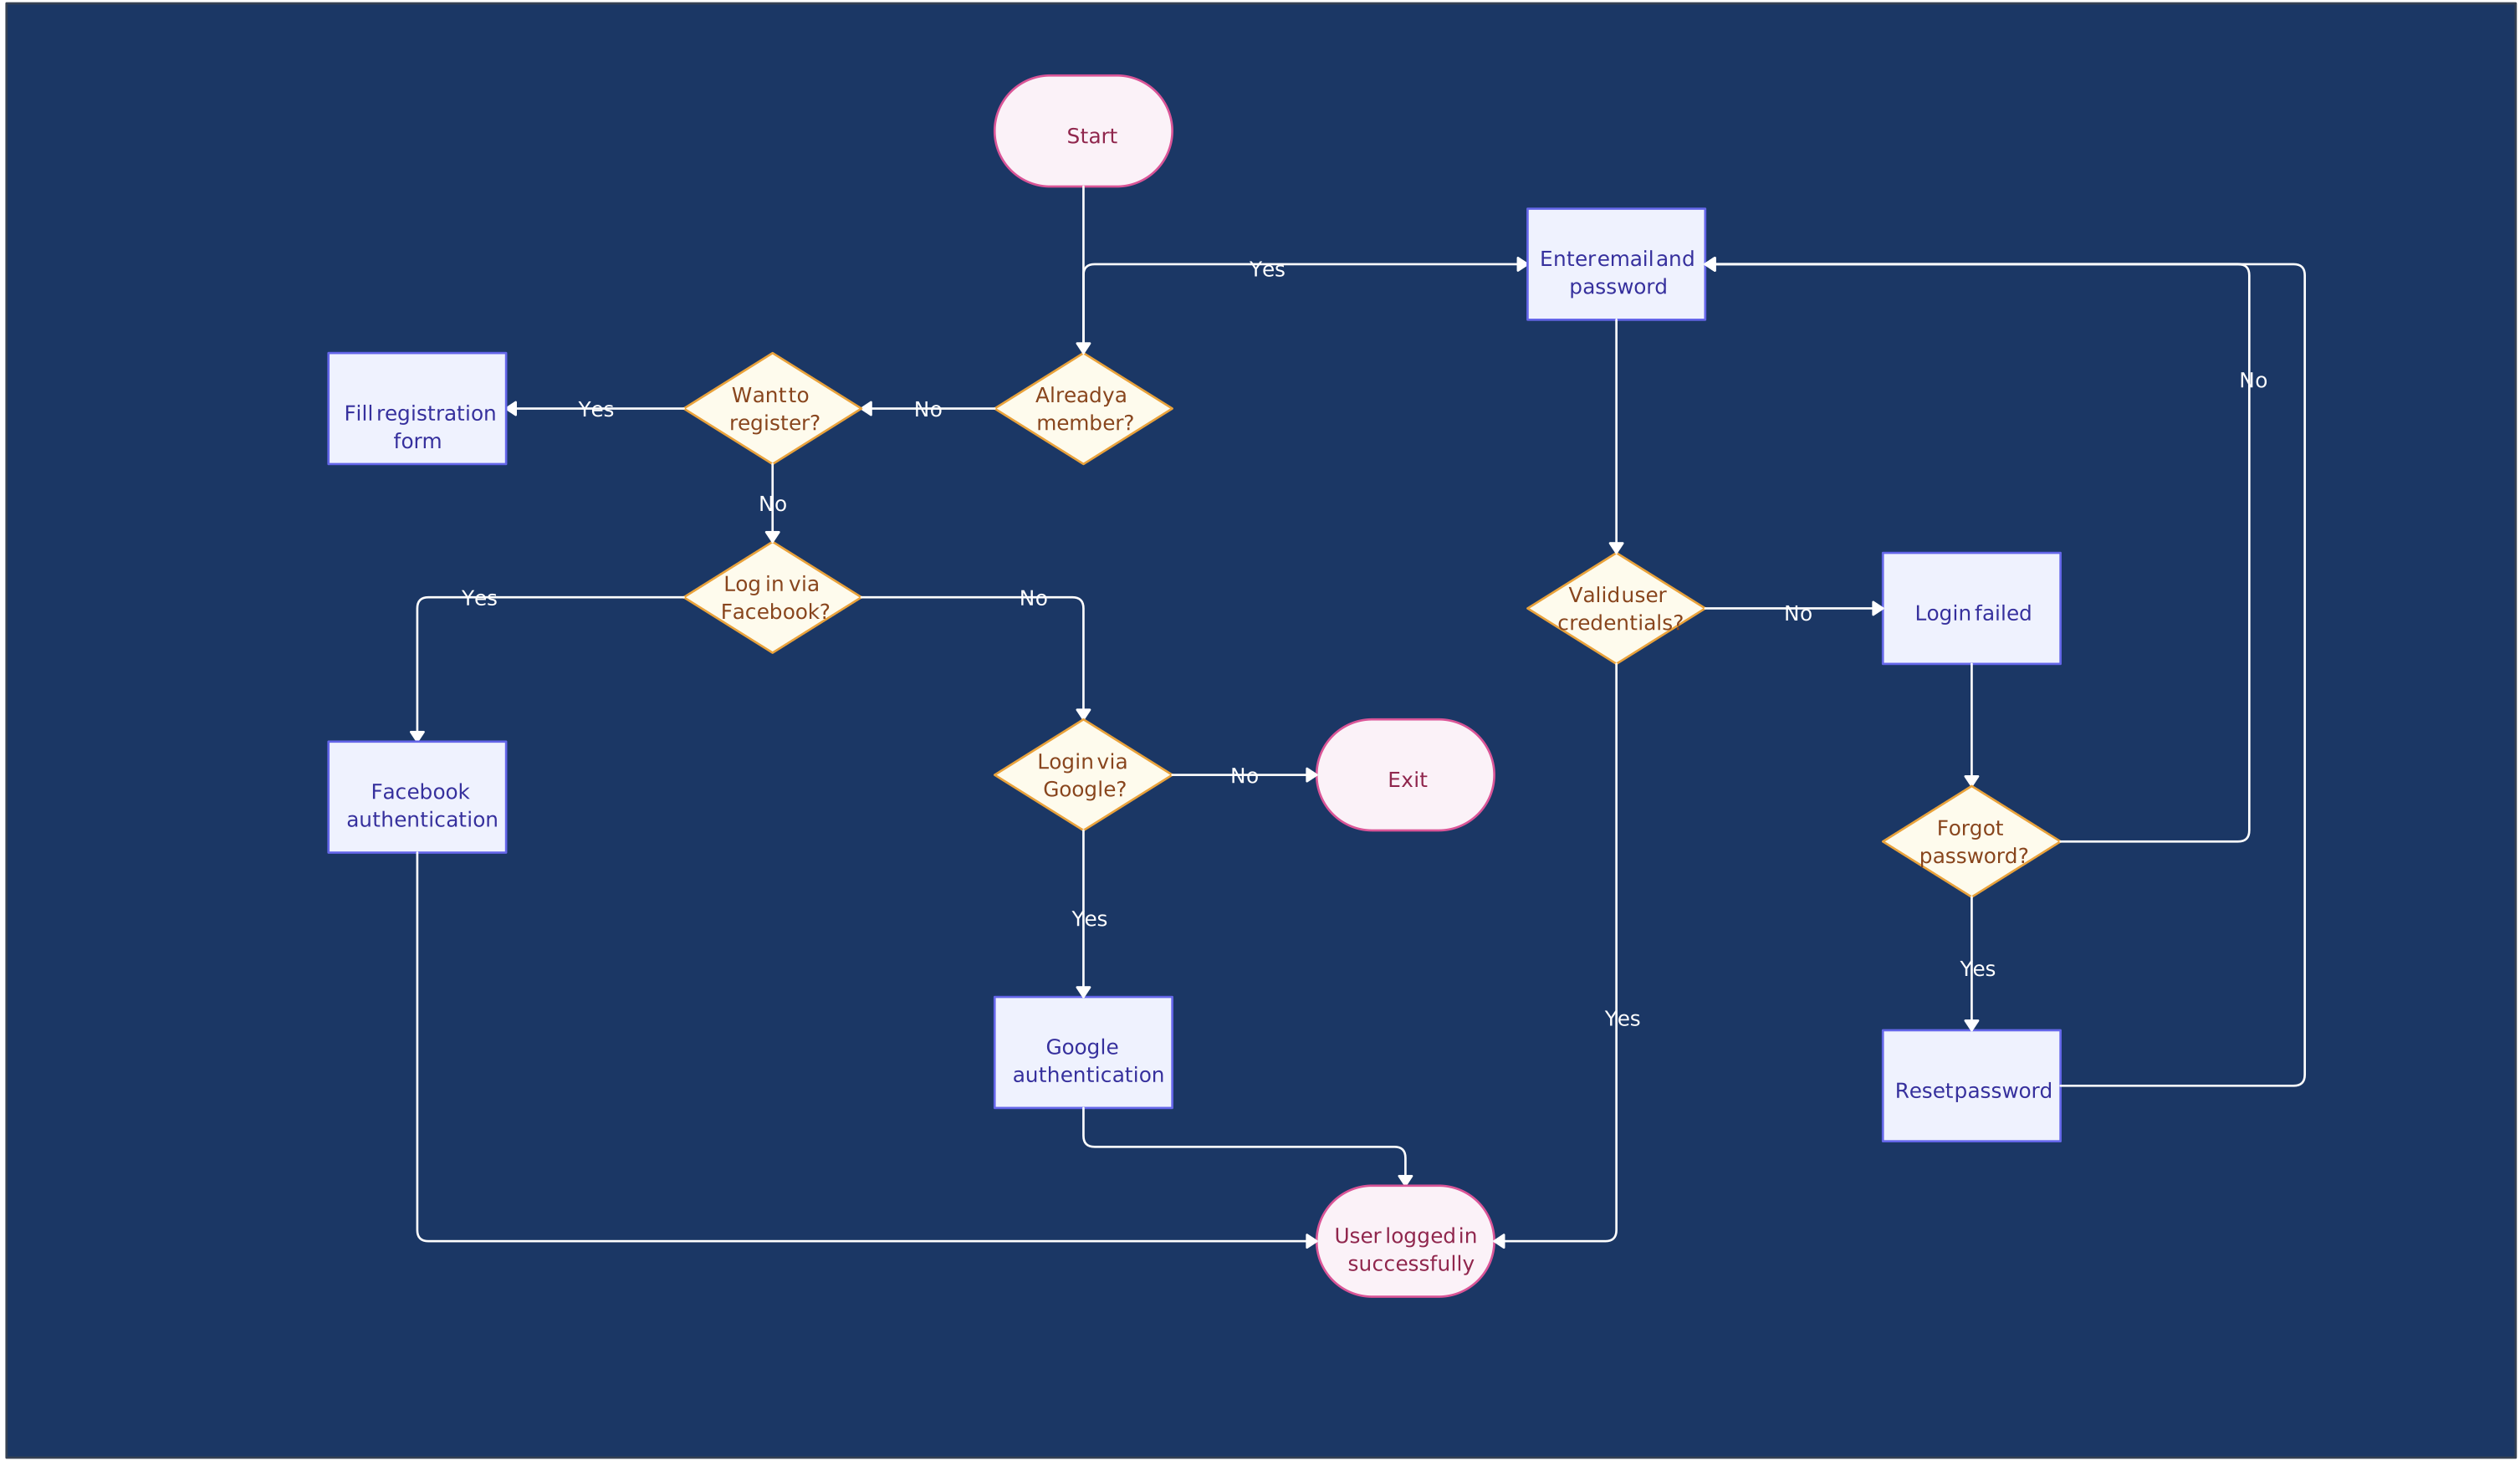
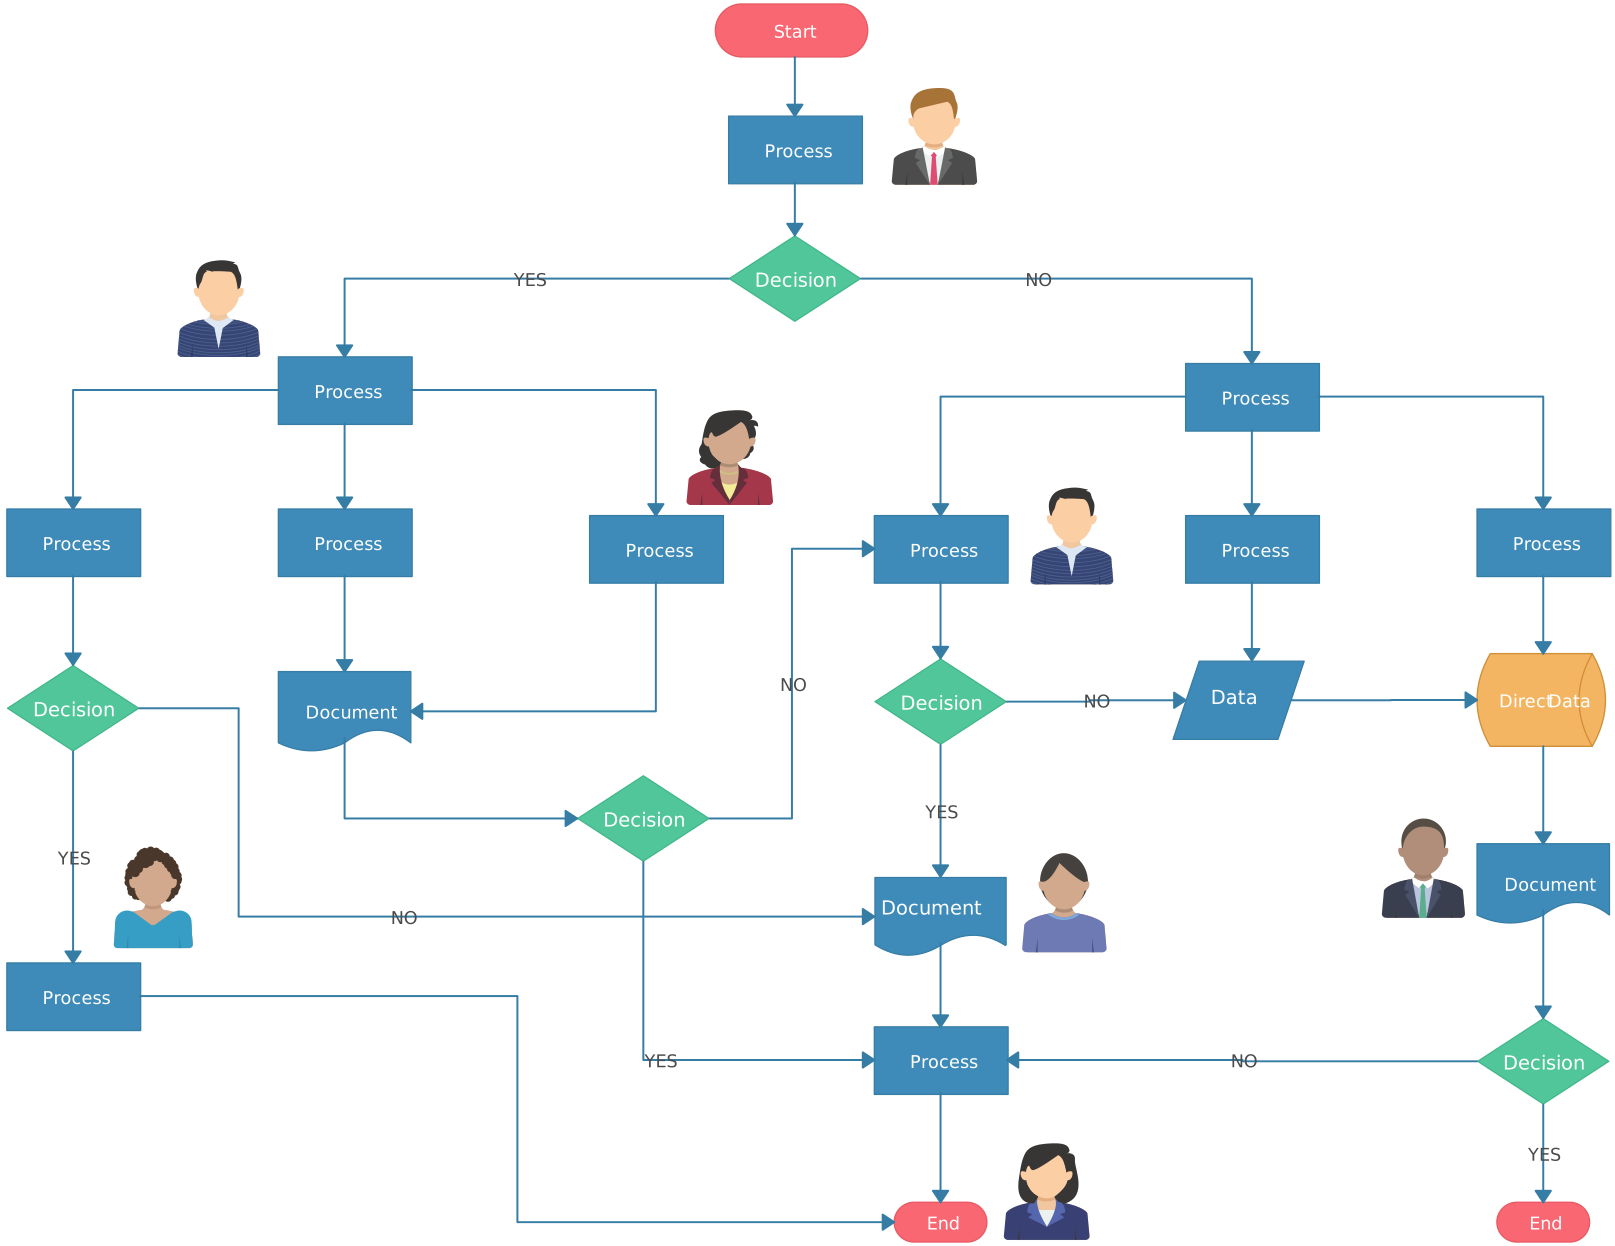

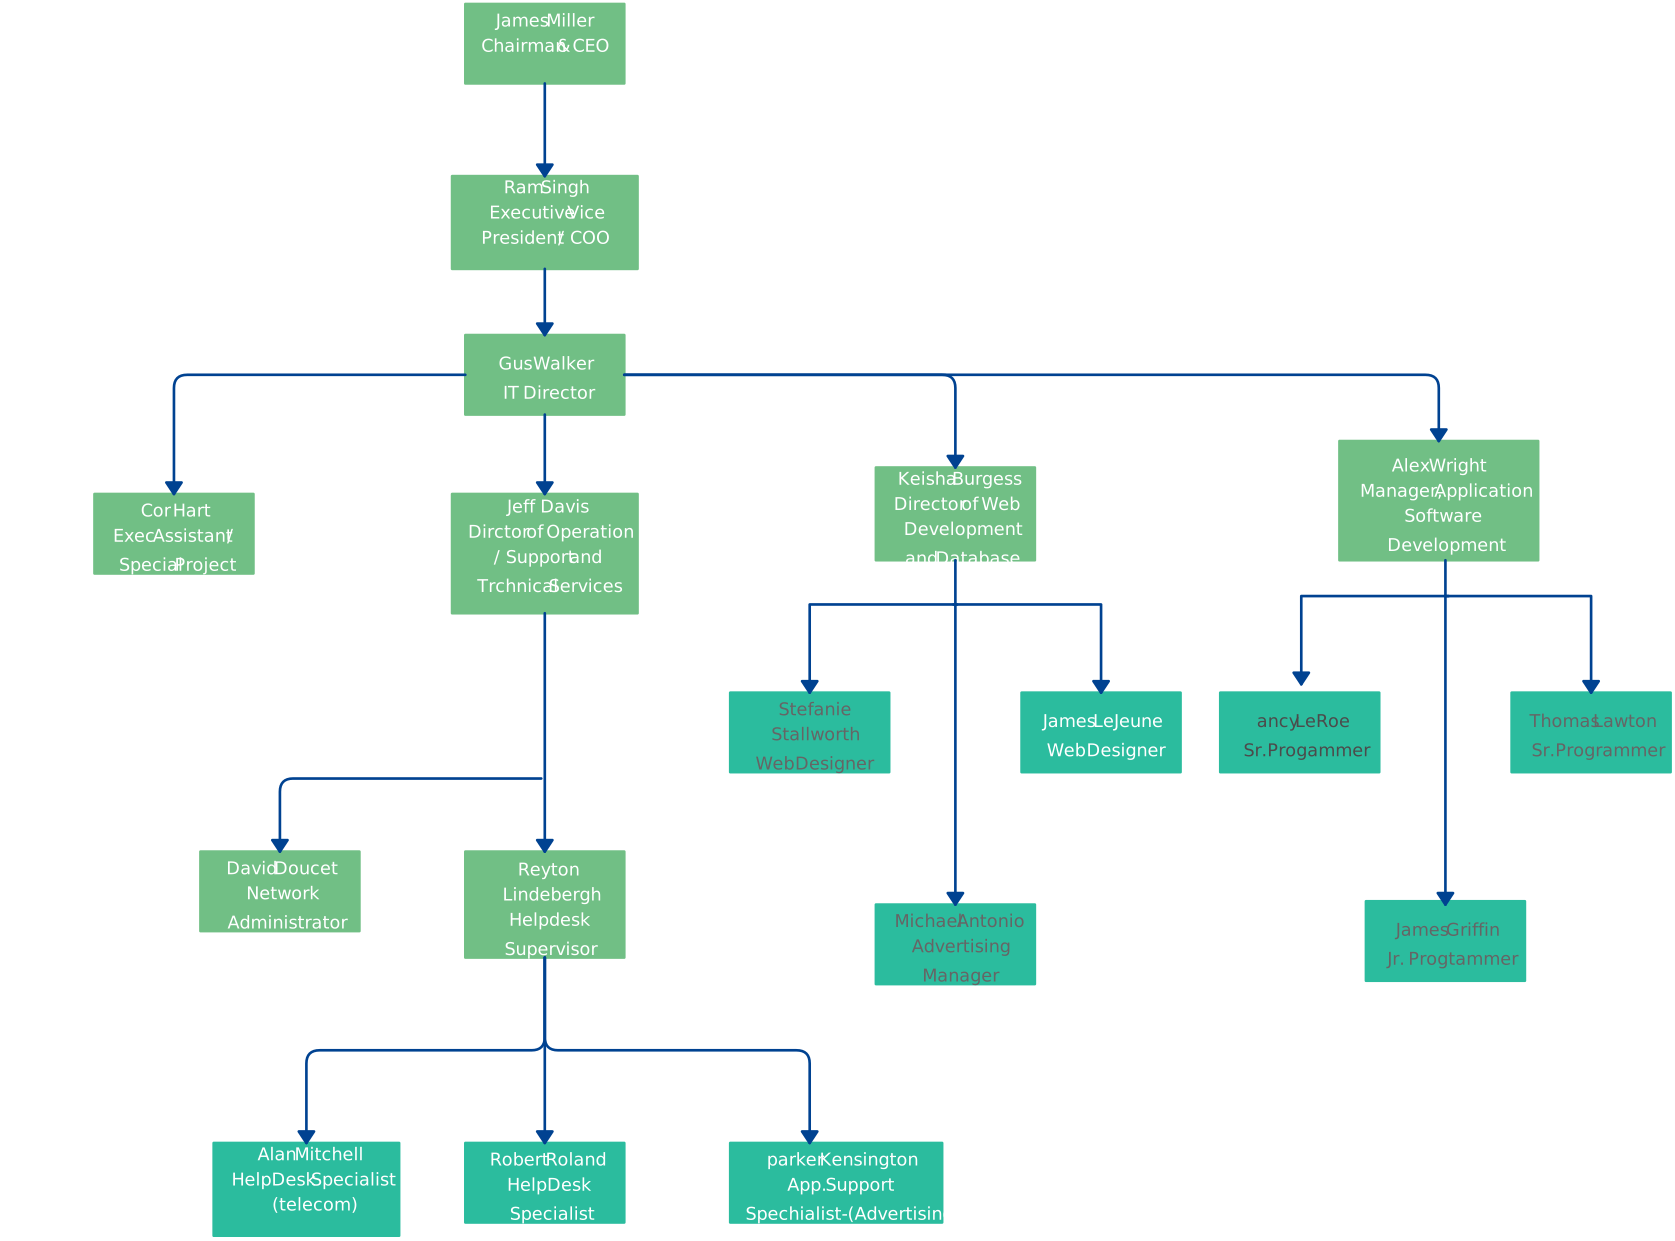
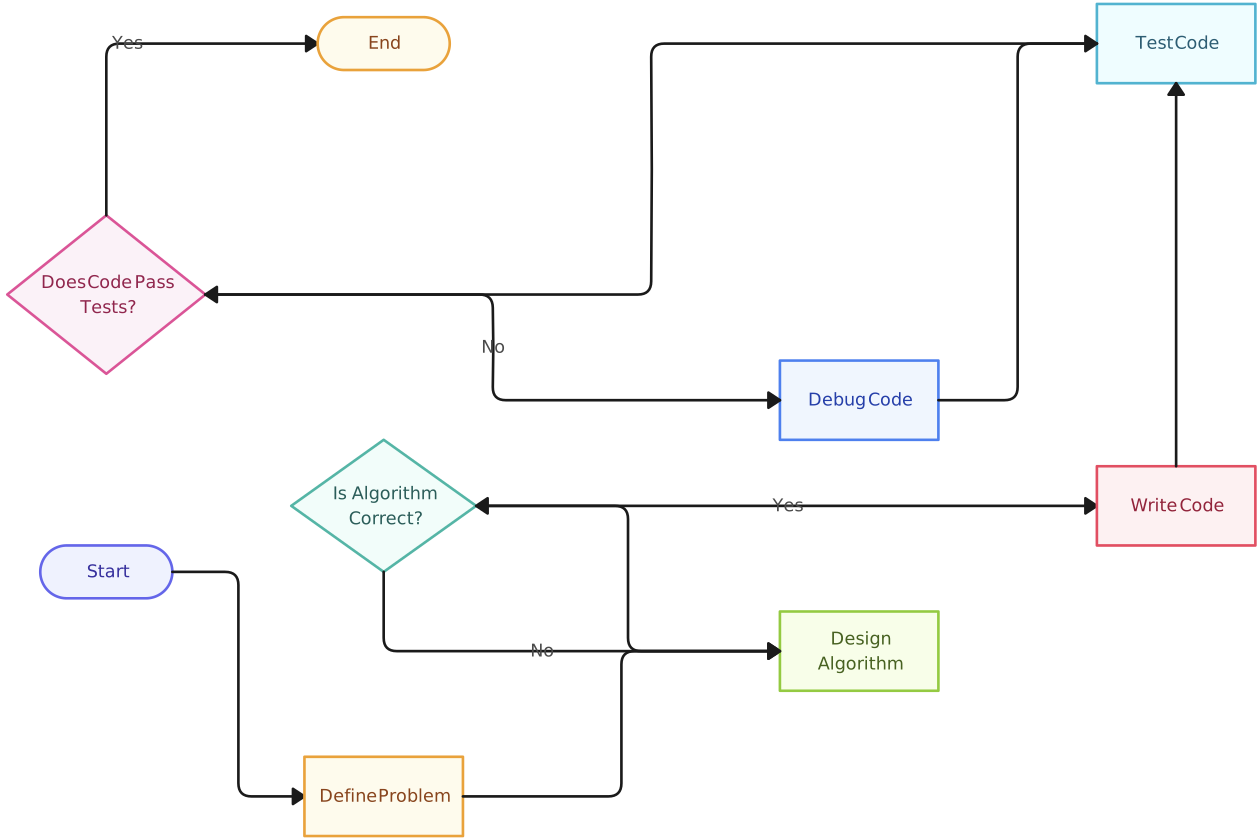
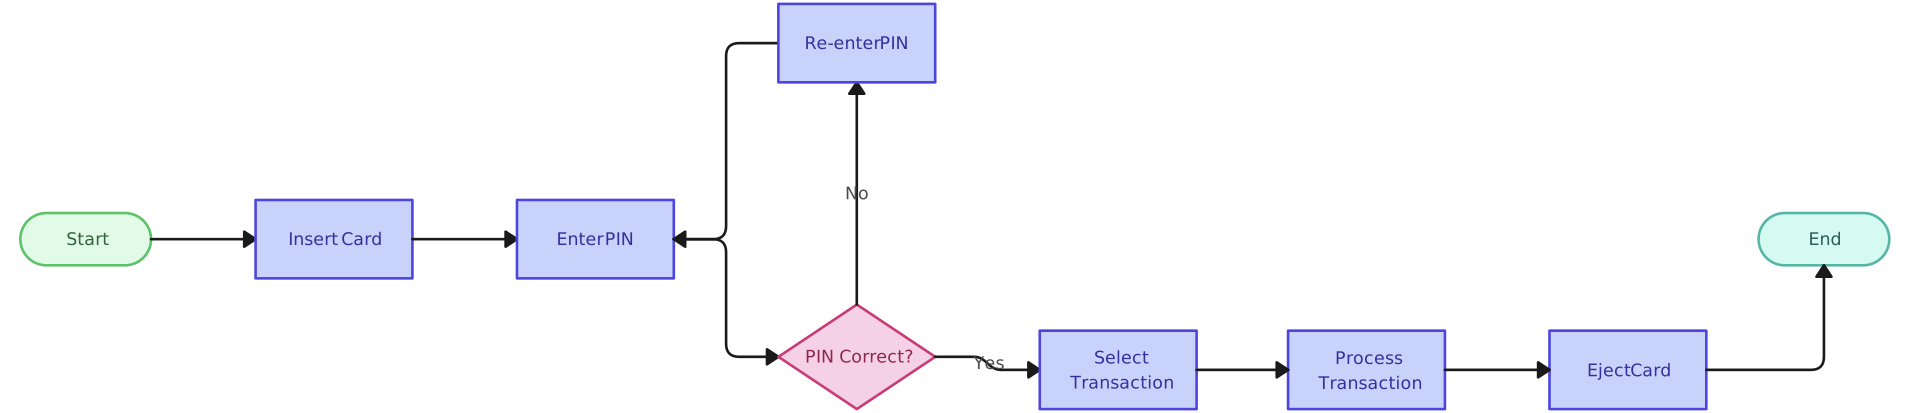
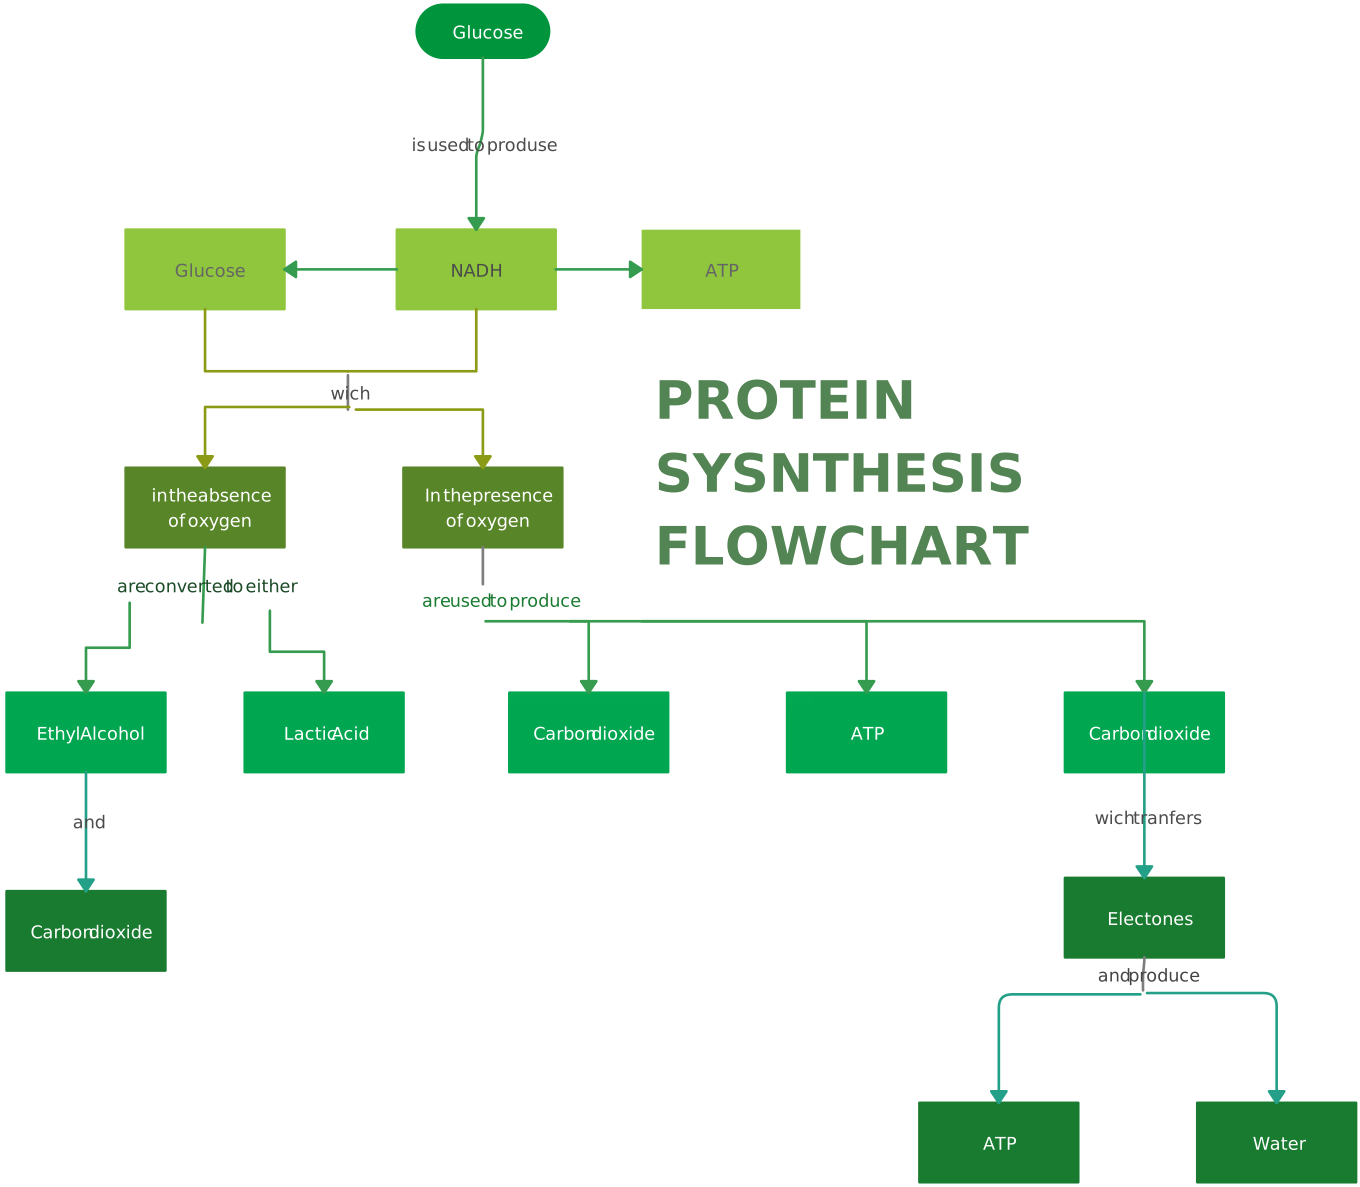
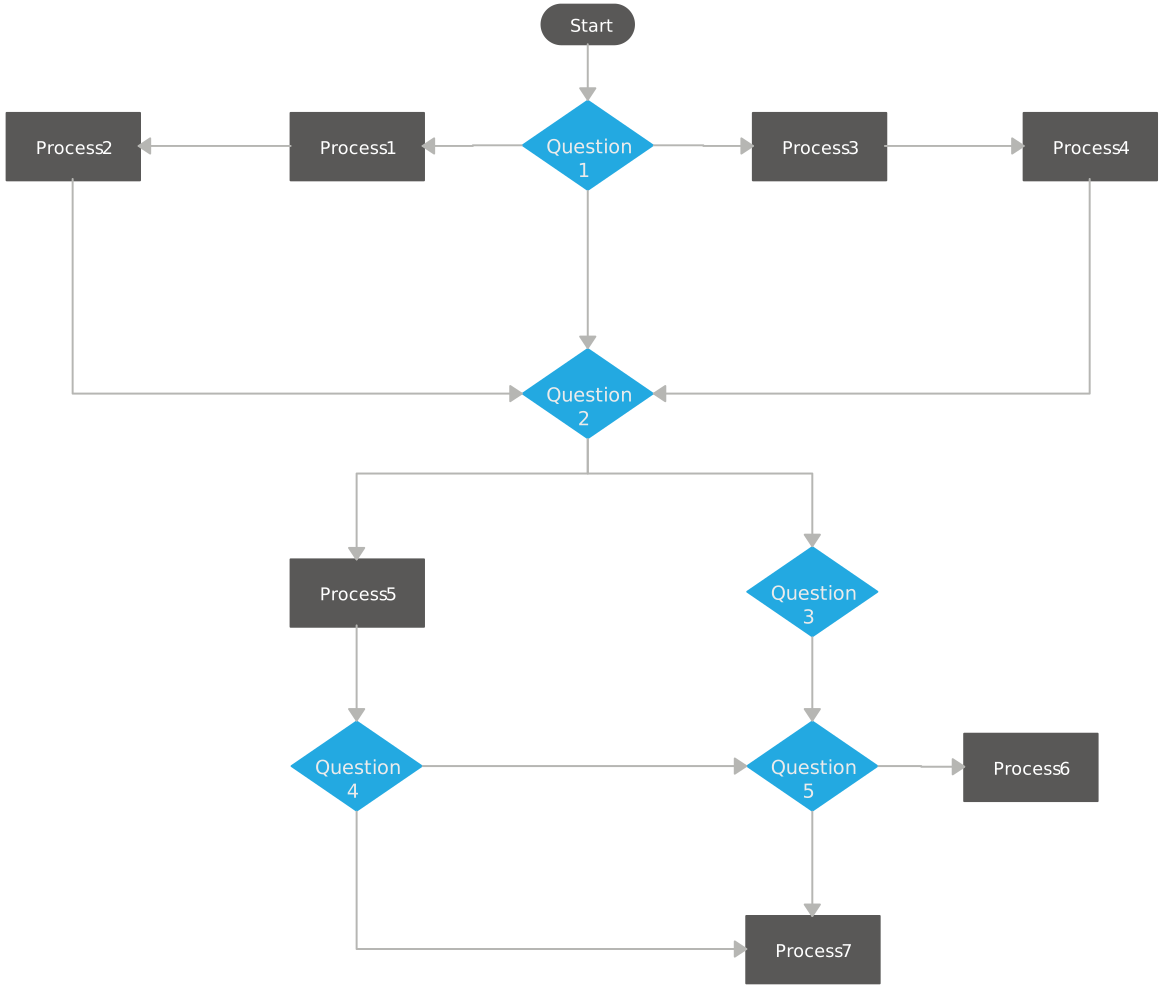
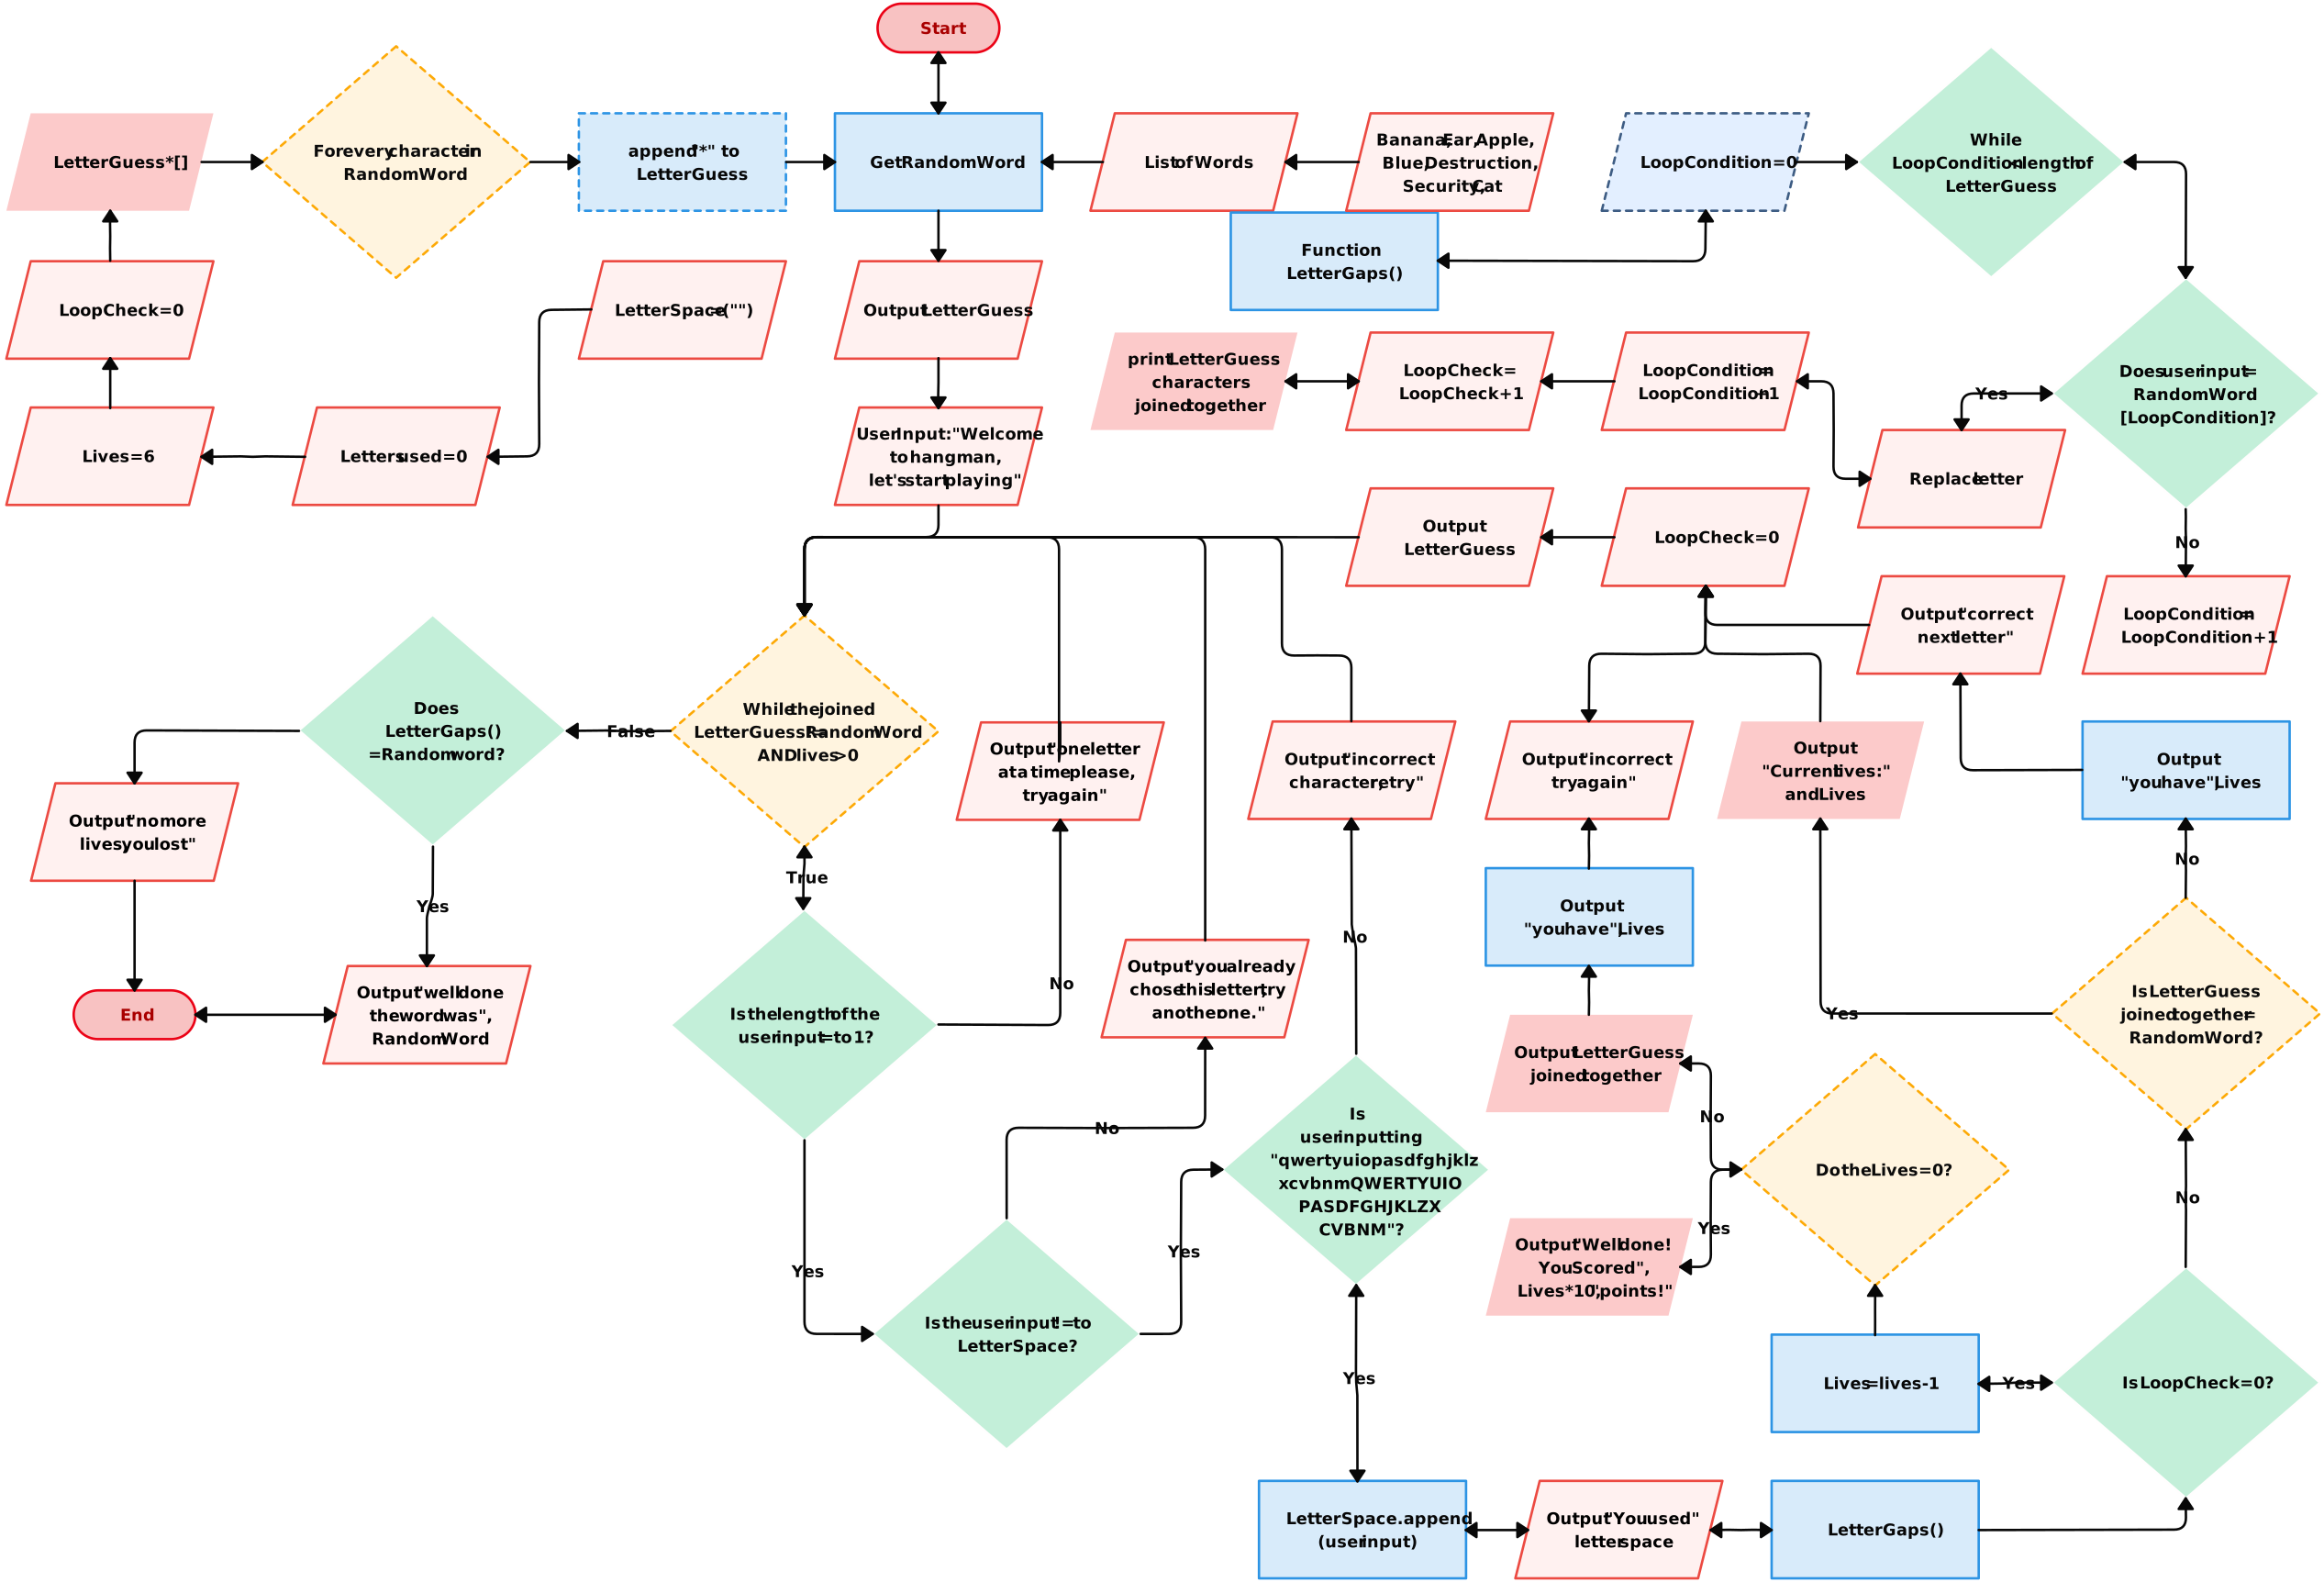
Each template is fully customizable to meet specific requirements. Whether you’re visualizing business processes, developing systems, or planning project workflows, Creately’s templates bring your ideas to life.
Check out our Flowchart Templates for inspiration and ready-made designs to kickstart your diagramming process.
This video guide walks you through the step-by-step process for crafting professional flowcharts in Creately.
Conclusion
While Excel offers a straightforward way to create basic flowcharts, specialized tools like Creately provide more advanced features for professional and efficient diagramming. For complex projects, seamless collaboration, and polished visuals, consider integrating a tool like Creately into your workflow.