A decision tree is useful when a document needs to show how a choice leads to an outcome, not just list the options. You can make a small decision tree in Google Docs with its Drawing tool: add a starting question, connect each answer to the next question or result, and place the finished drawing beside your explanation.
This guide covers a decision tree, where branches represent choices and outcomes. If you mean a chart of relatives, see How to Make a Family Tree in Google Docs. For other branching structures, start with What Are Tree Diagrams?.
Before You Open Google Docs: Sketch the Decision
Write the decision as a question that can be answered clearly. Then list the possible answers and what happens after each one. Keep a first draft small enough to fit on a document page; a tree with many branches is harder to arrange and read in a drawing window.
For example, a team deciding how to handle a new request could use this path:
| Question or outcome | If yes | If no |
|---|---|---|
| Is the request within the agreed scope? | Check whether the team has capacity. | Send it for a scope review. |
| Does the team have capacity this cycle? | Add the request to the current plan. | Schedule it for a later cycle. |
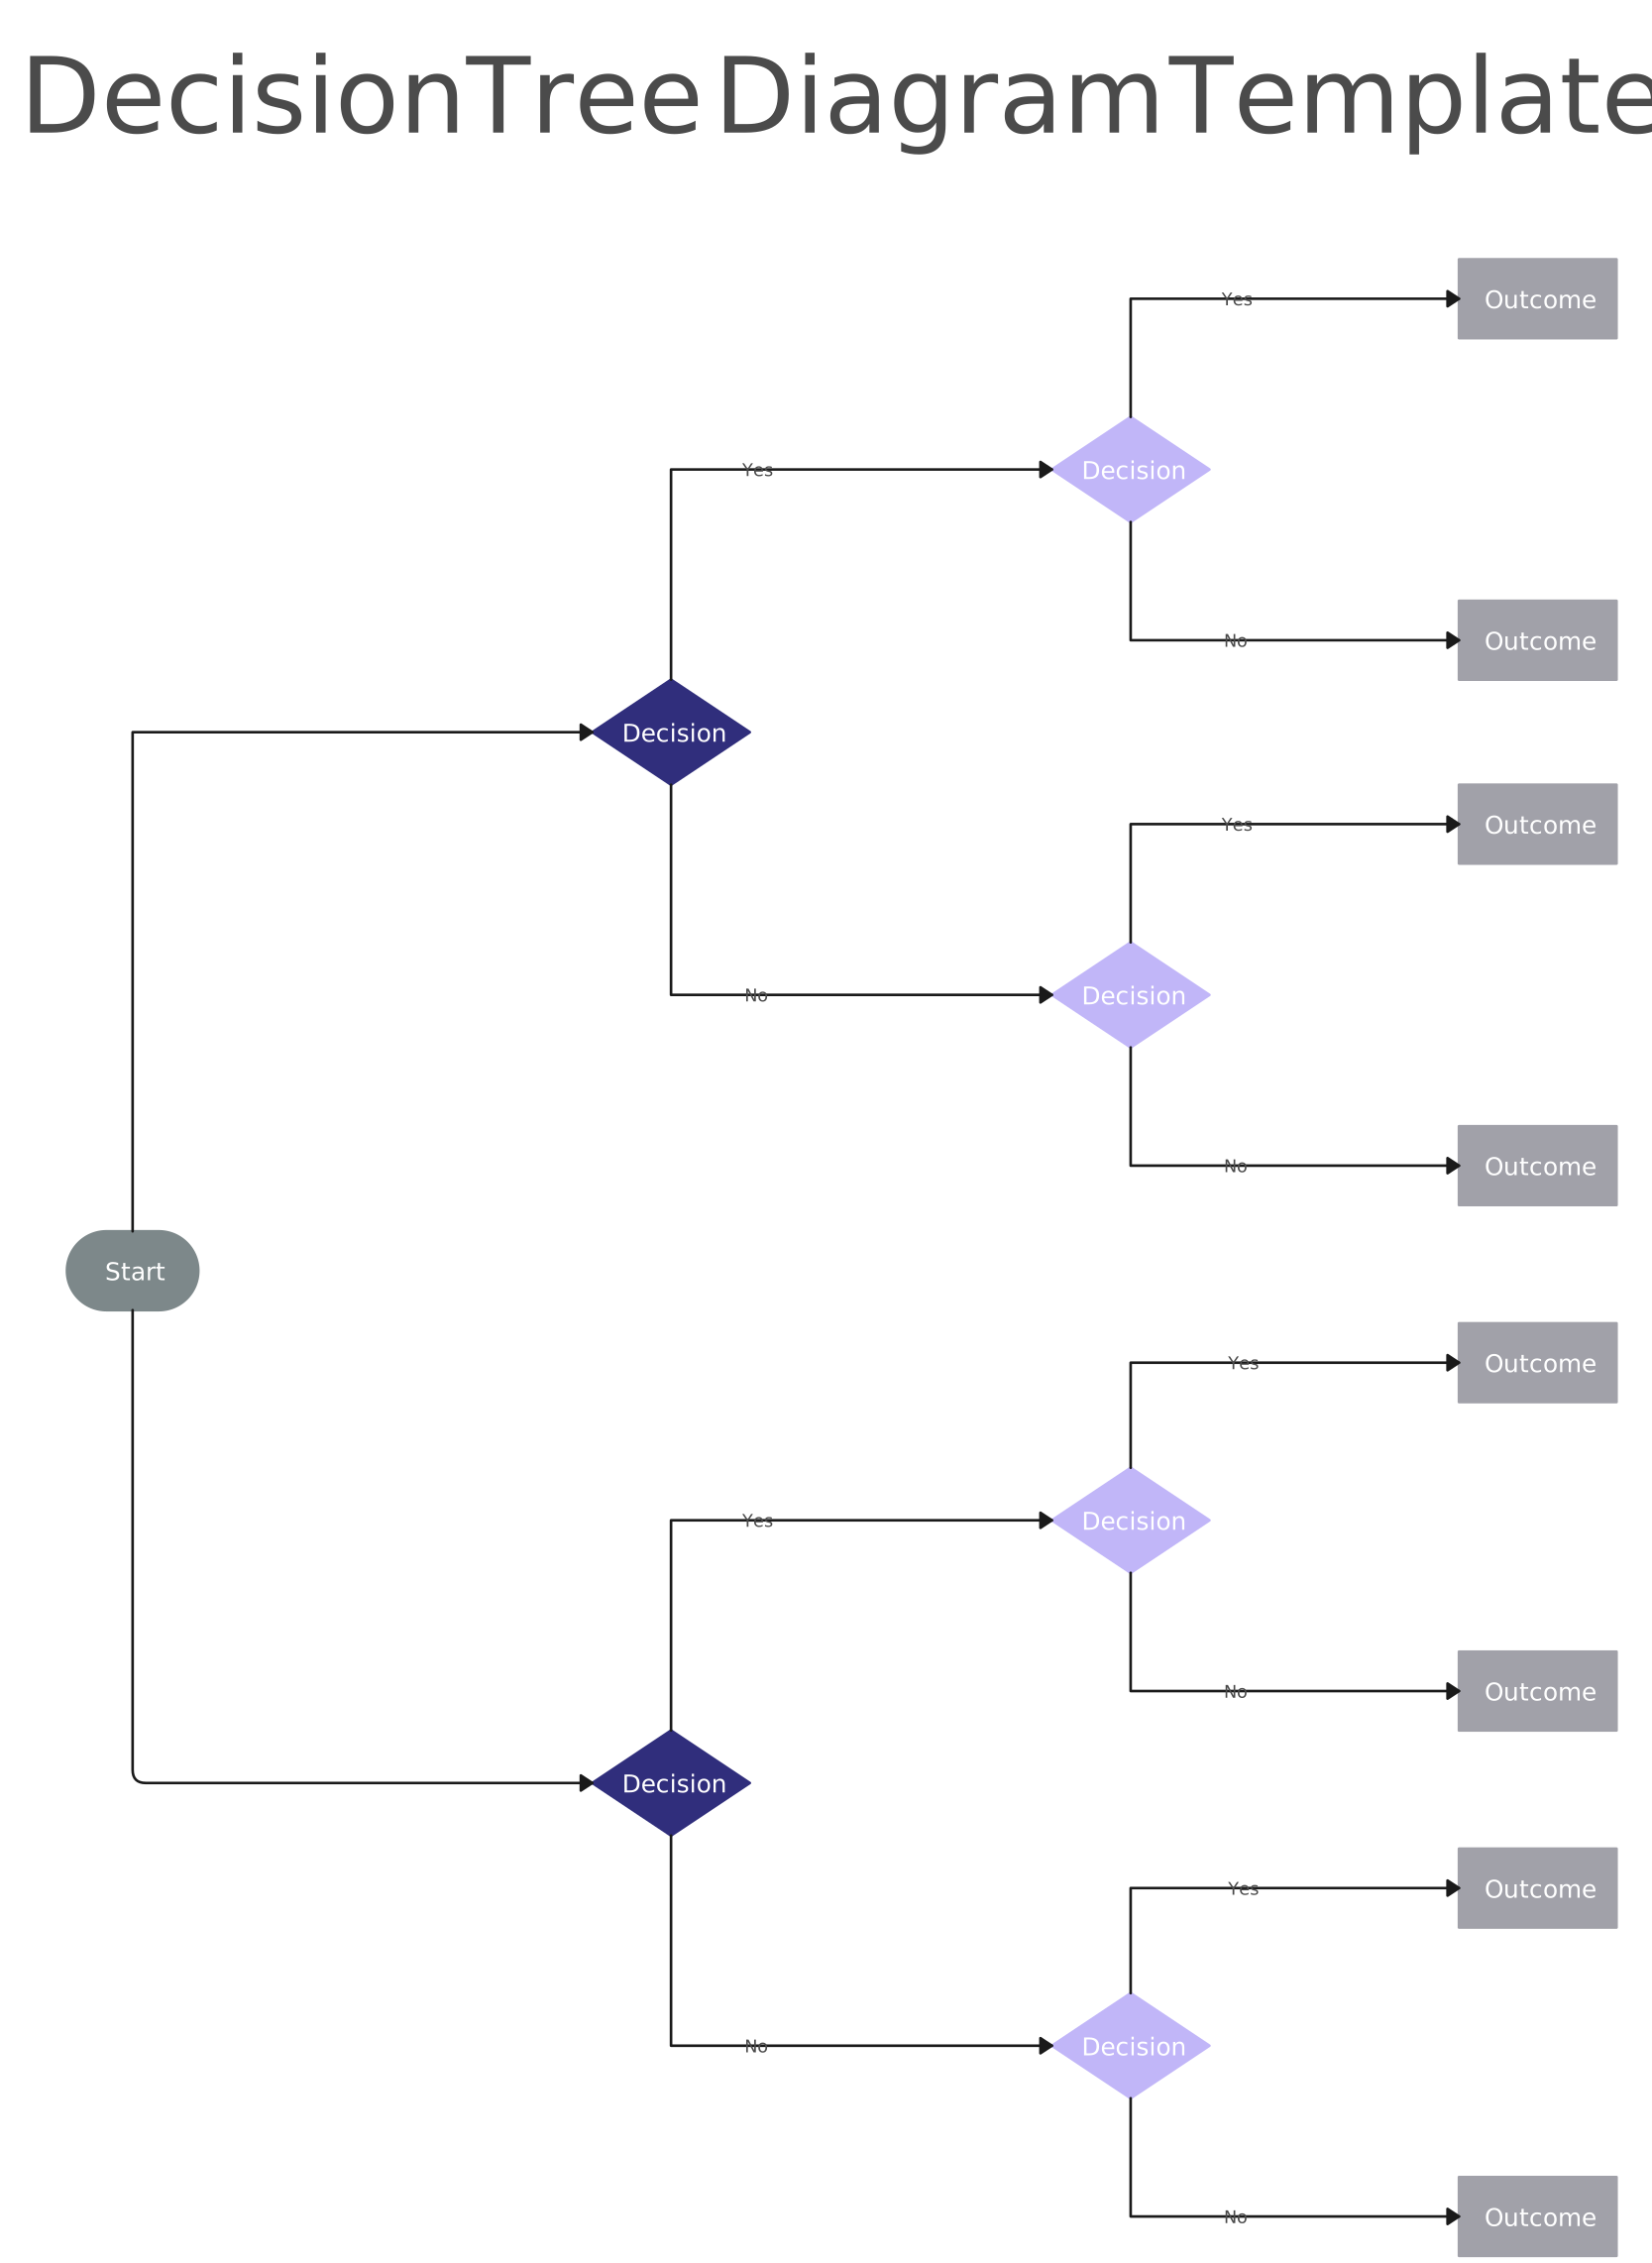
The second question applies only to requests that passed the first check. Label the branches Yes and No so the reader can follow the path without guessing. This is an illustrative example; replace the questions and outcomes with your own decision rules.
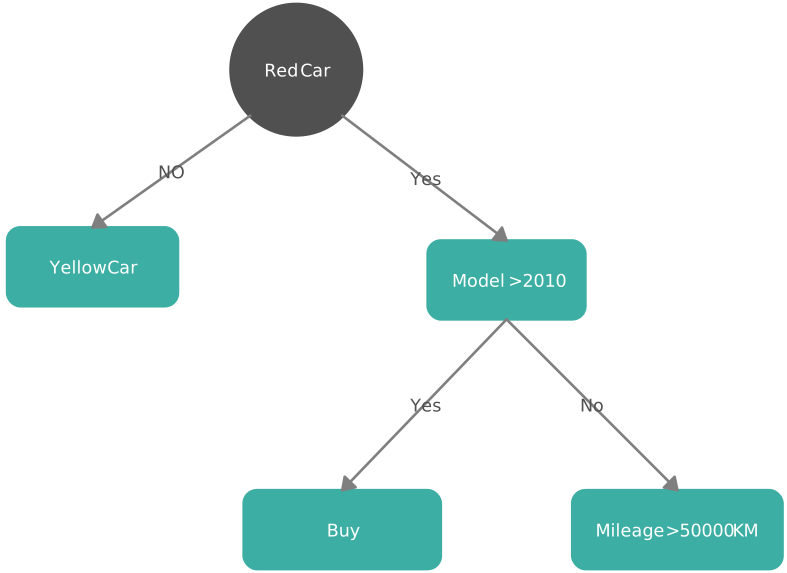
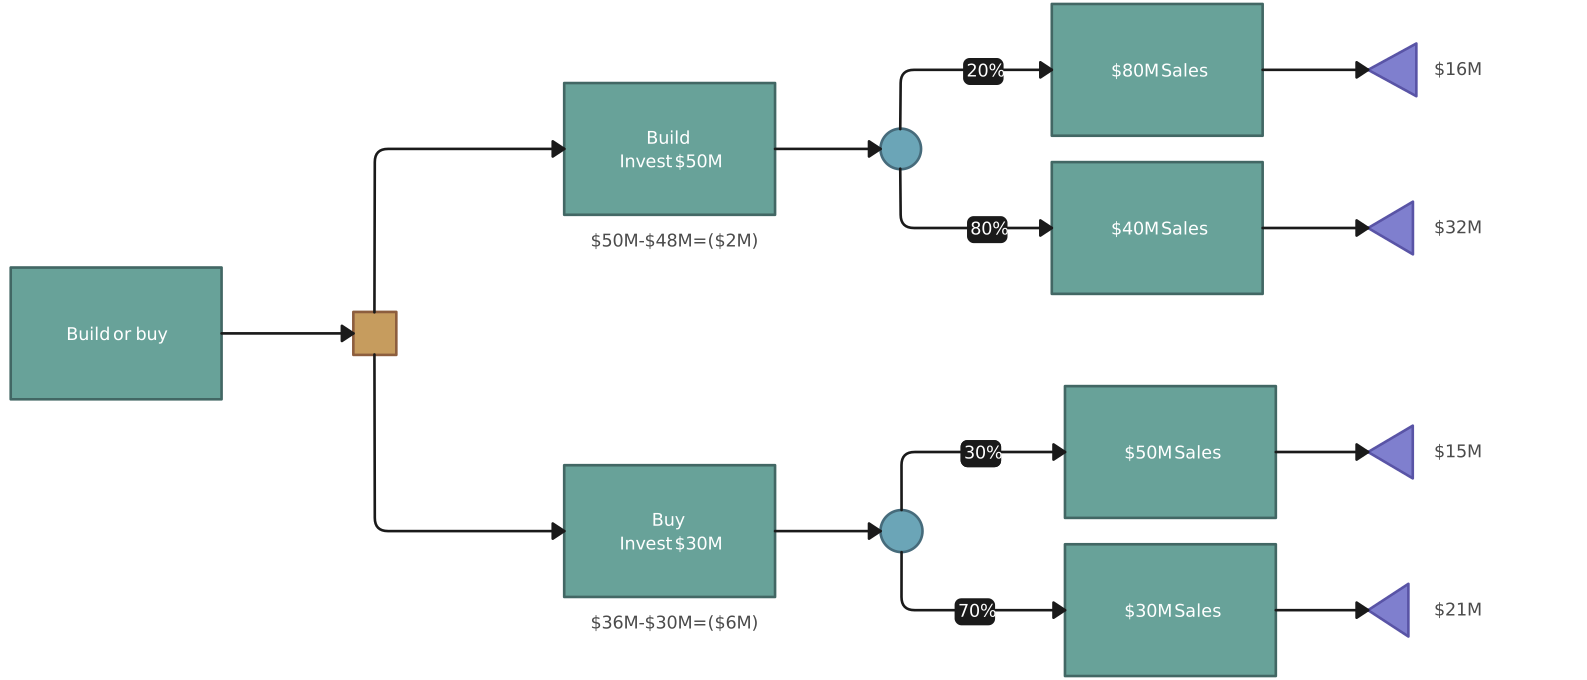
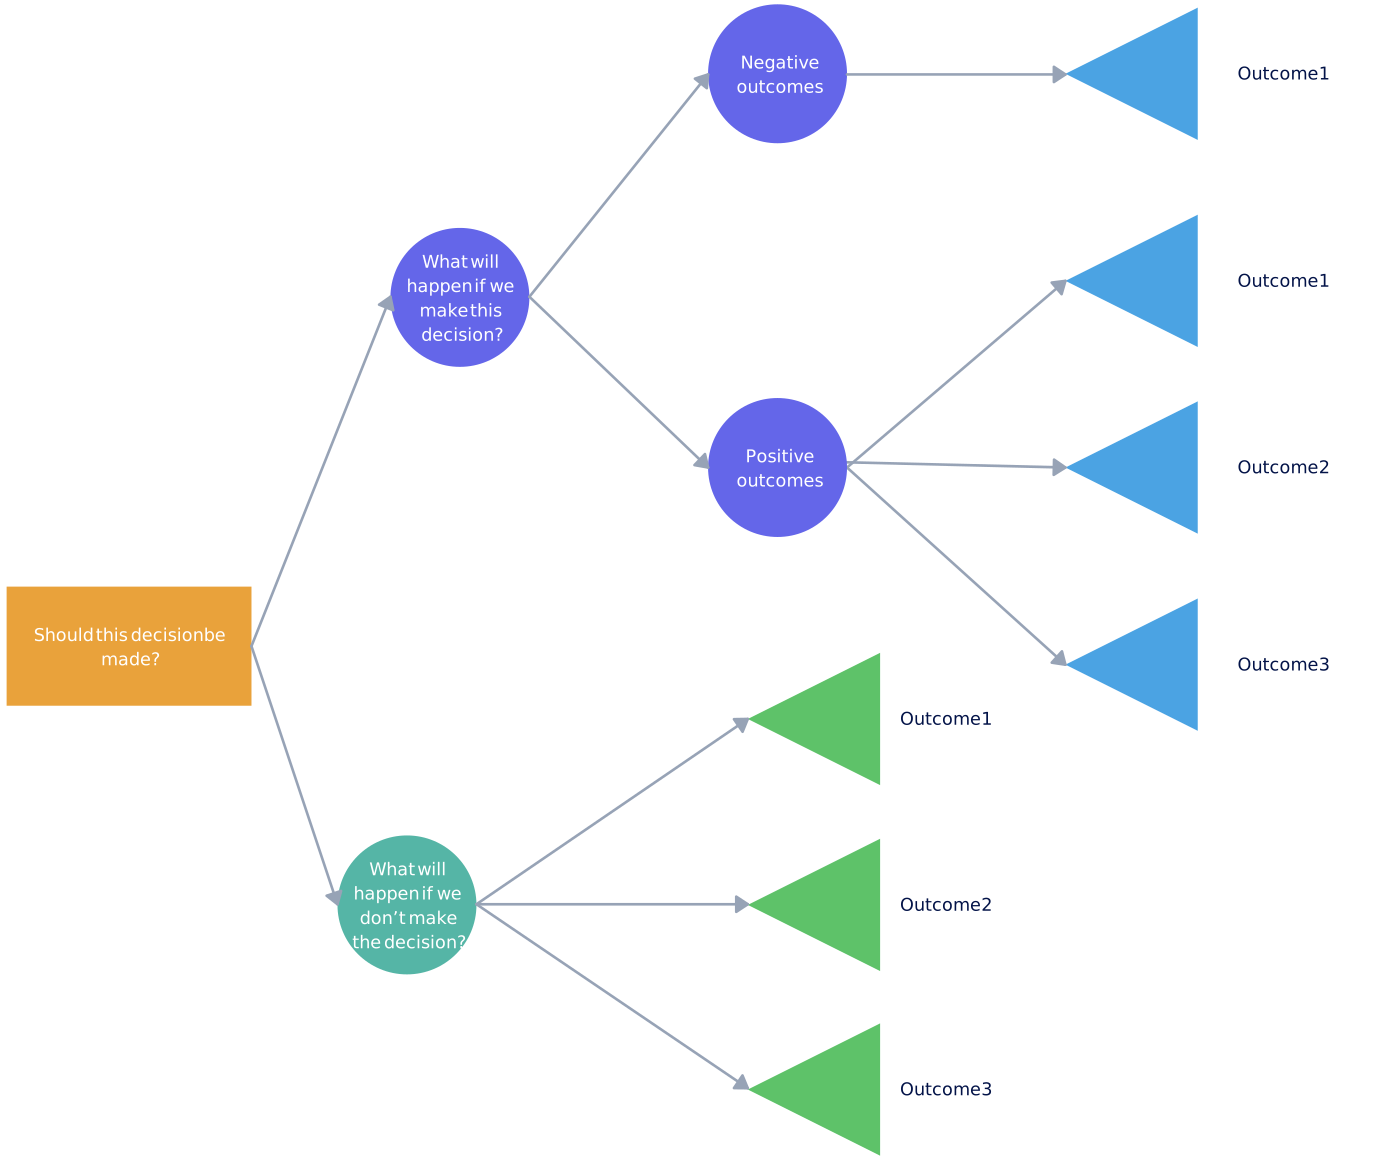
The editable tree below shows a branching layout you can adapt before exporting a smaller version for your document.

How to Make a Decision Tree in Google Docs
Google’s Drawing tool lets you add shapes, lines, and text within a document. The steps below follow the current Google Docs drawing instructions.
1. Insert a drawing
Open your document and place the cursor where the tree should appear. Choose Insert → Drawing → New. The drawing window is where you will build the tree; the finished drawing appears in the document after you save it.
2. Add the starting question
Use Shape to draw a box for the first question. Double-click the shape to add a short label, such as “Is the request within scope?” Leave space around it for two or more branches.
3. Add the choices and outcomes
Add shapes for any follow-up questions and for the final outcomes. Place each outcome at the end of its path. Use consistent shapes or colors if you need to distinguish questions from final results, but keep the labels meaningful without relying on color alone.
4. Connect and label the branches
Use the line menu to choose a connector or arrow and join the starting question to the next shapes. Add a small text box beside each branch for labels such as Yes and No. Follow every route to a clear next action or outcome; a branch that stops at another question without an answer leaves the decision unresolved.
5. Save, review, and edit
Choose Save and Close to place the drawing in the document. Read it at the size your audience will see, then reopen the drawing to fix crowded labels or crossing lines. If the tree is difficult to read on one page, split the decision into smaller trees or build it in a dedicated diagramming workspace.
You can also create a drawing in Google Drive and insert it with Insert → Drawing → From Drive. Google Docs links that drawing to the source and offers an Update action when the source changes. This is a Google Drawings workflow, distinct from inserting an exported image from Creately. Google’s drawing help explains the linked-drawing option.
When Google Docs Becomes Hard to Manage
The Drawing tool is enough for a short tree. As you add more branches, you have to make room for new shapes, keep connectors readable, and check that the result still fits in the document. It also takes care to maintain the tree if several people are revising the decision rules.
If the team needs to compare alternatives, discuss uncertain outcomes, or keep notes beside branches, create the tree in Creately first. The decision tree guide explains the underlying method; this page stays focused on putting a decision tree in a Google Doc.
Make the Tree in Creately and Add It to Google Docs
Before following the PNG export steps, check your Creately plan: PNG export is available on Pro, Business, and Enterprise plans. If you do not have export access, use the native Google Docs Drawing steps above to build the tree directly in your document.
Start with an editable decision-tree template or a blank workspace in Creately. Replace the example question and outcomes with your own, then check every path with the people responsible for the decision. Creately gives the team a larger canvas for branches and lets reviewers comment on the diagram as it changes.
When the tree is ready for a document, export it as a PNG and insert it through Insert → Image → Upload from computer in Google Docs. Use a resolution that keeps the labels readable at the size it will appear in the page. If the tree changes later, export a new image and replace the old one in the document. Add a link to the Creately workspace near the image if readers need the editable source; an uploaded PNG does not stay synchronized with that workspace.
Editable Decision Tree Templates
Choose a template based on the number of branches you need. A simple diagram is easier to adapt for a short policy decision; a tree with more outcomes is useful when several paths need to be reviewed before you make a compact version for Google Docs.


If you need more detail about decision nodes, chance nodes, and evaluating outcomes, use the decision tree guide. For a different Google Docs task, the family tree tutorial covers generations and relationships rather than choices and outcomes.