An arrow diagram is a handy way to map out a project step by step. It shows tasks as arrows, connected in the order they need to happen, so you can easily see what comes first, what runs in parallel, and what can’t start until something else is done. By laying everything out visually, it helps you spot dependencies, organize work, and figure out the critical path — the sequence of tasks that decides how long the project will actually take. In this guide, we’ll walk through the steps to create your own arrow diagram so you can plan projects with more clarity and confidence.
How to Create an Arrow Diagram
Before you start, clarify what the project is meant to achieve. What’s the main goal, and what should the final result look like? Also, set the boundaries — decide what’s part of the project and what isn’t. This way, everyone knows exactly what they’re working toward and avoids wasting time on things that don’t matter.
Step 1: List project activities
The first step is to break your project down into all the tasks that need to get done. Think of it like making a detailed to-do list for your project. The key is to be specific — instead of writing something broad like “build a website,” break it into smaller, clear actions such as “design homepage layout” or “set up contact form.”
Each task should also be measurable so you’ll know when it’s truly finished. The more precise your list is, the easier it will be to map out the flow of work in your arrow diagram later.
Creately tip: Use sticky notes or task cards on Creately’s infinite canvas to quickly capture activities. You can later convert them directly into connected diagram nodes with a single click using shape switch.
Step 2: Identify dependencies
Now that you have your task list, figure out how those tasks connect to each other. Some activities can only start after another one is finished, while others can happen at the same time.
For example, you can’t “paint the walls” until “build the walls” is done, but you could “order furniture” while the walls are being built. Mapping these relationships will help you see the real flow of the project and avoid bottlenecks later.
Creately tip: Simply drag connectors between tasks on the canvas. Creately automatically aligns and adjusts arrows so your diagram stays clear and professional-looking.
Step 3: Estimate task durations
Next, decide how long each task will take. You can base this on past experience, data from similar projects, or advice from someone who knows the work well. Be realistic — it’s better to give yourself a little extra time than to rush and risk delays. Knowing how long each task takes is essential for planning the sequence of work and spotting which tasks will affect the overall project timeline.
Creately tip: Add custom data fields to tasks (like estimated hours or deadlines) so you can keep all important information visible within the diagram.
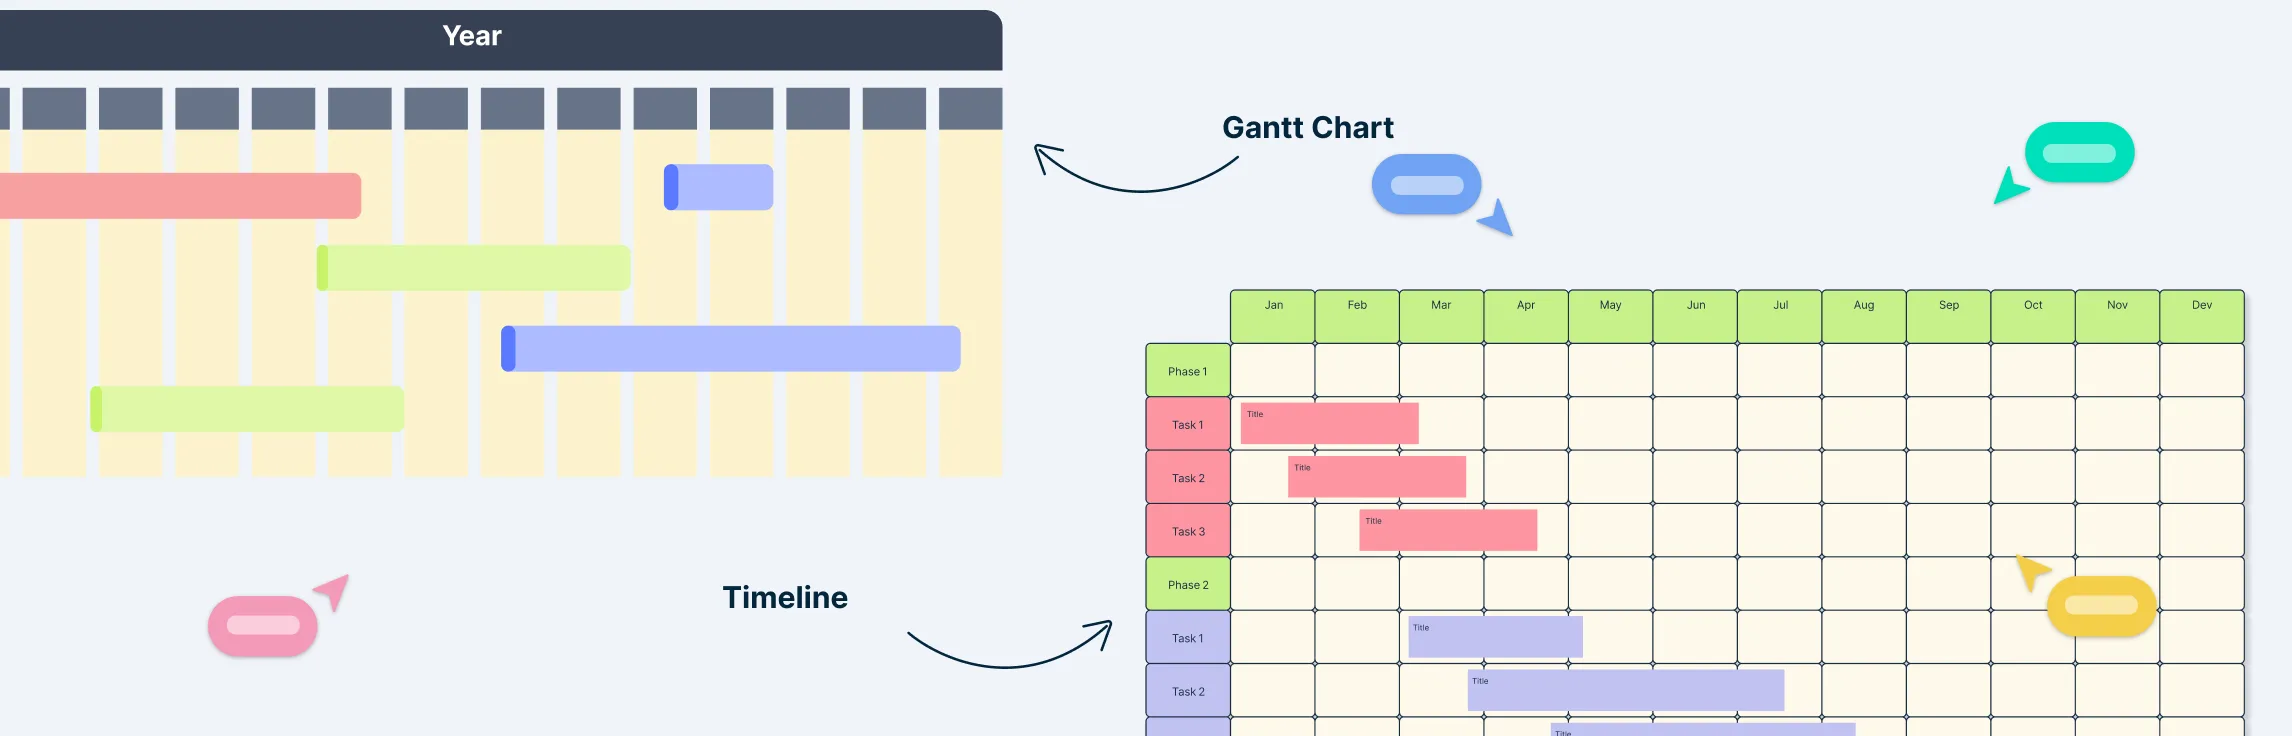
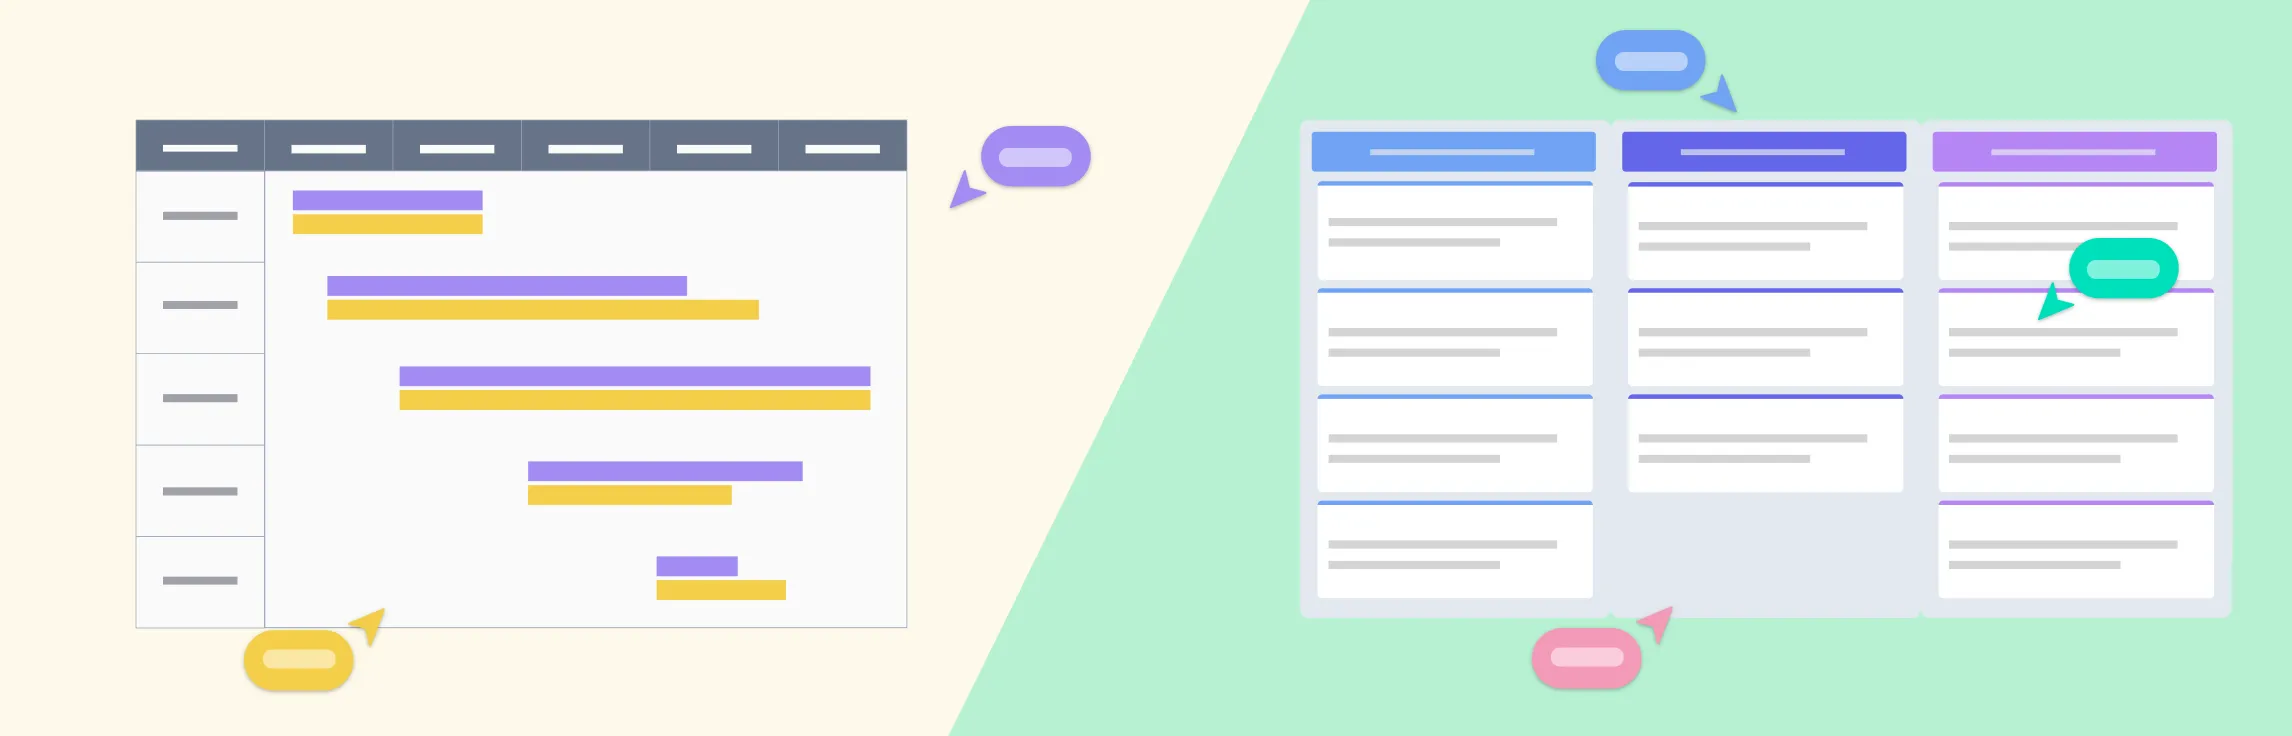
Step 4: Draw nodes and arrows
Start with nodes: Draw a circle for the start of your project and another circle for the end. These mark the beginning and completion of all tasks.
Represent tasks as arrows: Each task becomes an arrow that points from its start node to its end node. The direction shows the flow of work.
Label arrows clearly: Write the task name and its estimated duration on the arrow so anyone looking at the diagram can understand what needs to be done and how long it will take.
Show dependencies visually: Connect arrows based on the order tasks need to happen. If Task B can’t start until Task A finishes, the arrow for Task B should start where Task A ends.
Use dummy arrows when needed: Sometimes two tasks share a dependency but don’t have a real task between them. Draw a dashed arrow as a placeholder to maintain logical order without implying extra work.
Organize the layout for clarity: Place sequential tasks in a clear left-to-right or top-to-bottom order. Group parallel tasks side by side so it’s easy to see which activities can happen at the same time.
Creately tip: Instead of manually redrawing arrows, use built-in arrow diagram templates. You can customize them instantly by dragging and dropping tasks.
Step 5: Arrange sequence and parallel tasks
Once all arrows are drawn, organize the diagram so the flow of work is clear:
Place tasks that must happen one after another in sequential order.
Group tasks that can run at the same time side by side to show parallel work.
Make sure all dependencies are correctly represented, using connecting arrows or dummy arrows where needed.
Space out arrows and nodes so the diagram stays easy to read, even for complex projects.
Double-check that there are no missing links or overlaps that could cause confusion.
Creately tip: Switch to presentation mode to walk your team through the diagram step by step, ensuring dependencies are understood before execution.
Step 6: Calculate the critical path
Once your tasks are arranged in order, it’s time to find the critical path — the sequence of tasks that controls the overall project duration.
Start at the beginning and follow each path of dependent tasks to the end.
Identify the longest path of tasks that must happen in order without delay. This path shows the shortest possible time your project can take.
Highlight this path clearly on your diagram so everyone knows which tasks are critical.
Keep in mind that any delay in a task on the critical path will directly delay the project completion.
After identifying the critical path, review the diagram with your team to make sure all tasks and dependencies are correct. Update it as the project progresses to reflect changes in durations or task order.
Creately tip: Use Creately’s built-in Kanban boards and timelines to connect your arrow diagram with actual task updates. This way, you can manage execution and track critical tasks directly within the same workspace without switching tools.
Creately Arrow Diagram Templates to Get Started
Now that you know how to make an arrow diagram, here are some arrow diagram templates to get a head start.
Simple Arrow Diagram Example

Blank Precedence Diagram
Activity On Node Diagram
Precedence Diagram Example
Precedence Diagram Template
Best Practices & Tips for Arrow Diagramming
Use a consistent visual style: Keep shapes, arrow styles, and colors uniform across the diagram. This makes it easier to read, especially for large projects.
Label nodes and arrows clearly: Give each node and arrow a name and duration. Avoid jargon unless explained — clarity helps everyone understand the workflow quickly.
Simplify for readability: Space out arrows, group related tasks, and avoid crossing lines. A clean layout ensures your diagram is easy to follow.
Highlight and track the critical path: Use colors or bold lines to show the critical path. Monitor it regularly to identify potential delays and adjust plans proactively.
Collaborate with your team: Share the diagram with stakeholders for review. Collect feedback to catch missing tasks or dependencies.
Keep the diagram updated: Projects change, and so should your arrow diagram. Update durations, tasks, or dependencies in Creately to keep planning accurate and actionable.
References
www.sciencedirect.com. (n.d.). Arrow Diagram - an overview | ScienceDirect Topics. [online] Available at: https://www.sciencedirect.com/topics/engineering/arrow-diagram.
Kurata, Y. and Egenhofer, M.J. (2005). Structure and Semantics of Arrow Diagrams. Lecture notes in computer science, pp.232-250. doi:https://doi.org/10.1007/11556114_15.